If you’ve ever wanted to experience that perfect harmony of creamy, savory, and subtly sweet flavors wrapped up in soft, pillowy bread, this Japanese Egg Sandwich Recipe is your new best friend. It’s simple, comforting, and utterly addictive—the kind of sandwich that feels like a warm hug on a busy day. Whether you’re making lunch for yourself or surprising loved ones, this recipe brings the delightful taste of Japan’s famous tamago sando right to your own kitchen.

Ingredients You’ll Need
Don’t be fooled by the short list of ingredients—each one plays a crucial role in creating the delicate balance of flavors and textures in this sandwich. From the creamy eggs to the tangy soy sauce and sweet touch of sugar, every element contributes to a harmonious bite.
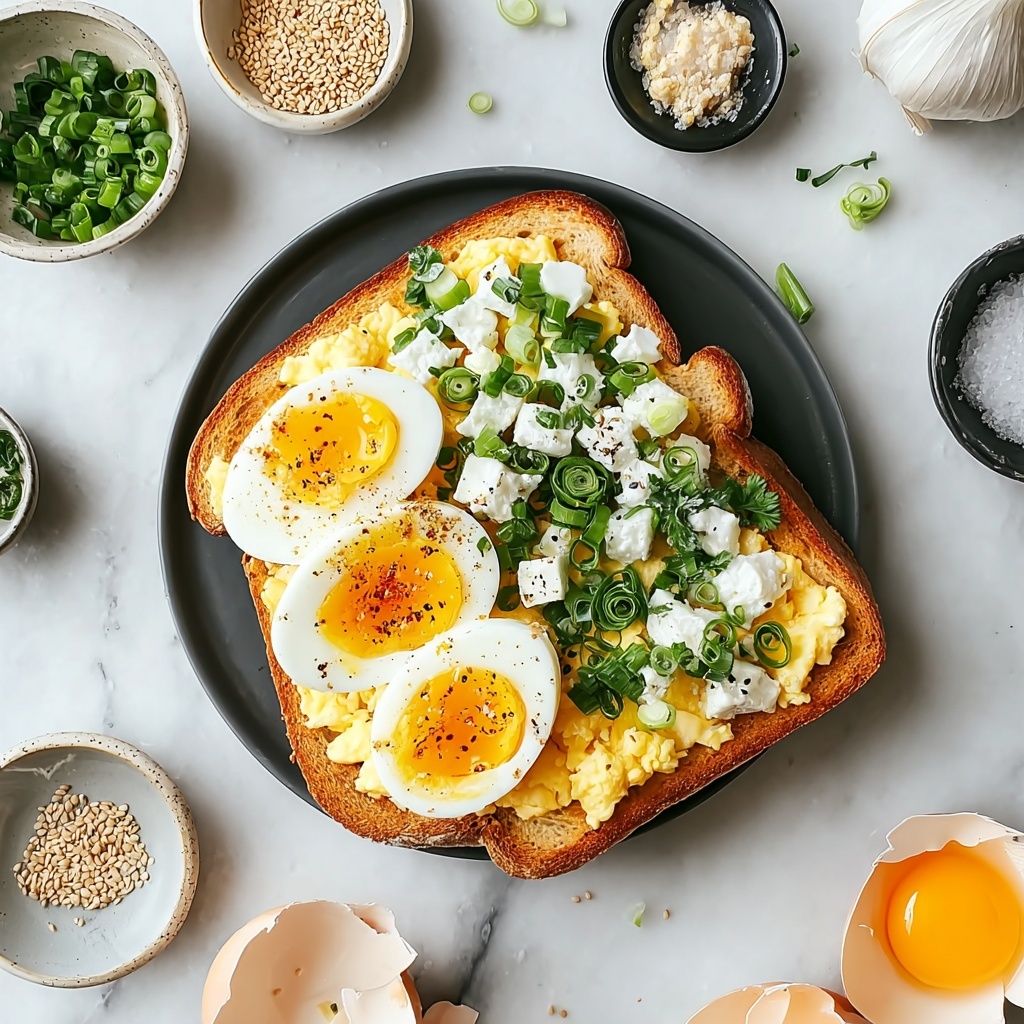
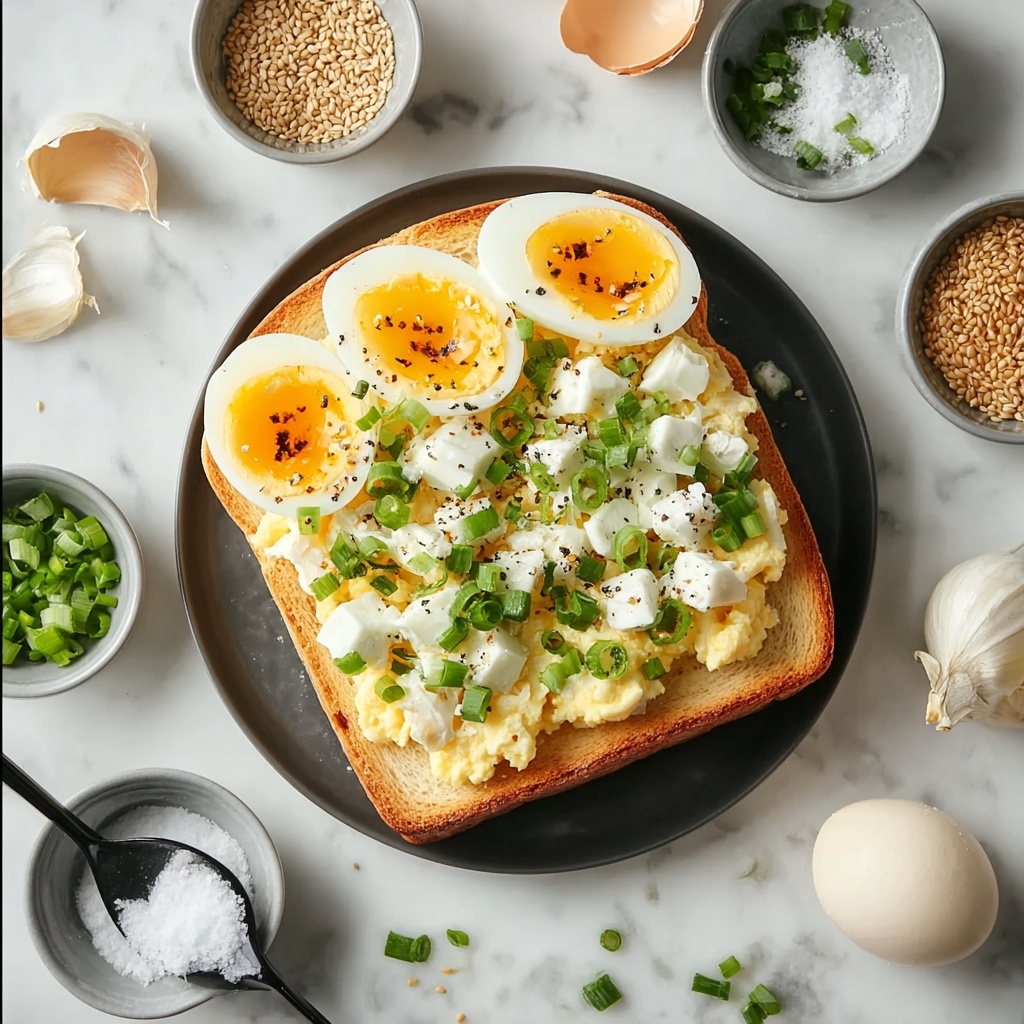
- 6 large eggs: The star ingredient that provides the creamy, satisfying base for the filling.
- 1/4 cup mayonnaise: Adds a rich, velvety texture and helps bind the filling together.
- 1 tablespoon soy sauce: Brings a subtle umami depth without overpowering the mild egg flavor.
- 1 teaspoon sugar: Balances the savory notes with a gentle sweetness.
- 1/4 teaspoon salt: Enhances the overall flavor just right.
- 1/8 teaspoon black pepper: Adds a mild touch of warmth to the mix.
- 8 slices white bread: Soft and fluffy, perfect for encasing the egg filling.
- Butter for spreading: Gives the bread a golden, slightly crispy edge and a mouthwatering richness.
How to Make Japanese Egg Sandwich Recipe
Step 1: Boil the Eggs to Perfection
Start by carefully placing the 6 large eggs into a pot and covering them with cold water. Bringing the water to a boil over medium-high heat sets the foundation for perfectly cooked eggs. Once boiling, reduce the heat to maintain a gentle simmer and let them cook for exactly 9 minutes—this timing ensures yolks that are fully set yet still tender, ideal for that creamy egg filling.
Step 2: Chill and Peel the Eggs
As soon as the eggs are done, transfer them to a bowl filled with ice water. This quick chilling stops the cooking process instantly and makes peeling a breeze. After about 5 minutes cooling, the eggs are ready to be handled without fuss. Peel them carefully to preserve as much of the egg white as possible.
Step 3: Prepare the Egg Filling
Chop the peeled eggs into small, uniform pieces that will marry well with the other ingredients. In a mixing bowl, combine the chopped eggs with mayonnaise, soy sauce, sugar, salt, and black pepper. Mixing thoroughly is key to achieving that signature smooth and flavorful filling that defines this Japanese Egg Sandwich Recipe.
Step 4: Butter the Bread
Butter one side of each slice of white bread generously. This step adds not only flavor but also ensures the sandwiches toast up with a delightful golden crispness on the outside, creating a wonderful contrast to the soft egg filling within.
Step 5: Assemble and Cut Your Sandwiches
Evenly distribute the egg mixture onto the unbuttered side of 4 bread slices. Top with the remaining bread slices, buttered side down, forming four sandwiches. For that authentic touch, trim off the crusts with a sharp knife and cut each sandwich diagonally to form neat triangles. These little triangles are not only charming but also easier to eat, especially if you’re packing lunchboxes.
How to Serve Japanese Egg Sandwich Recipe
Garnishes
Keep it simple with a sprinkle of finely chopped chives or a light dusting of toasted sesame seeds to add a subtle crunch and visual appeal. A thin layer of fresh lettuce provides a crisp contrast to the creamy filling, brightening each bite.
Side Dishes
This sandwich pairs beautifully with light, refreshing sides like seaweed salad, pickled cucumbers, or a crisp Japanese cabbage slaw. A cup of miso soup or green tea elevates the meal, bringing authentic flavor and warmth.
Creative Ways to Present
Try making smaller, bite-sized versions on mini bread rounds for party platters or add a thin slice of avocado for a creamy twist. Wrapping sandwiches tightly in plastic wrap and freezing them can also be a clever way to prepare lunch ahead—just thaw and enjoy!
Make Ahead and Storage
Storing Leftovers
Store any leftover sandwiches wrapped in plastic or airtight containers in the refrigerator. They stay fresh for up to 2 days without losing that lovely texture or flavor. Just keep the bread wrapped well to prevent it from drying out.
Freezing
Though fresh is best, you can freeze these sandwiches by wrapping each tightly in plastic wrap and placing them in a freezer bag. Freeze for up to a month, but keep in mind the bread might become slightly denser after thawing.
Reheating
To enjoy the stored sandwiches, remove the plastic wrap and warm them up gently in a toaster oven or on a skillet until just heated through. Avoid the microwave if you want to keep the bread from getting soggy or chewy.
FAQs
Can I use whole wheat or other bread instead of white bread?
Absolutely! While traditional Japanese Egg Sandwich Recipe calls for soft white bread to achieve that pillowy texture, whole wheat or soft sandwich bread varieties work well too, adding a nuttier flavor and extra fiber.
Is there a substitute for mayonnaise in this recipe?
You can use Japanese Kewpie mayonnaise for an authentic taste, but if you’re avoiding mayo, try Greek yogurt or mashed avocado as a creamy alternative, though it will slightly change the flavor and texture.
How can I make the egg filling less sweet?
If you prefer a less sweet filling, simply reduce the sugar amount to half or omit it entirely. The soy sauce will still provide sufficient savory depth for a balanced taste.
Can I prepare the filling in advance?
Yes! You can make the egg filling up to a day ahead and store it in the refrigerator. This makes assembling the sandwiches super quick when you’re ready to eat.
What is the best way to peel boiled eggs without damaging them?
After boiling, immediately place eggs in ice water to cool. This helps shrink the egg inside the shell slightly, making peeling easier. Gently tap and roll the egg on a hard surface to crack the shell before peeling.
Final Thoughts
This Japanese Egg Sandwich Recipe is such a joy to make and even more delightful to eat. It’s comfort food elevated with simple, elegant Japanese flavors that feel both nostalgic and fresh. Give it a try—you might just find yourself craving it for lunch every day. It’s a little slice of happiness between two slices of bread that’s perfect anytime.
Print
Japanese Egg Sandwich Recipe
- Prep Time: 15 minutes
- Cook Time: 10 minutes
- Total Time: 25 minutes
- Yield: 4 sandwiches (8 halves)
- Category: Sandwiches
- Method: Boiling
- Cuisine: Japanese
- Diet: Vegetarian
Description
This Japanese Egg Sandwich recipe delivers a soft, creamy, and savory sandwich featuring fluffy, finely chopped hard-boiled eggs mixed with a flavorful blend of mayonnaise, soy sauce, sugar, salt, and pepper, all nestled between buttery white bread slices. Perfect as a light meal or snack, these sandwiches are known for their delicate texture and subtle umami taste, offering a comforting and satisfying eating experience.
Ingredients
Egg Mixture
- 6 large eggs
- 1/4 cup mayonnaise
- 1 tablespoon soy sauce
- 1 teaspoon sugar
- 1/4 teaspoon salt
- 1/8 teaspoon black pepper
Sandwich Assembly
- 8 slices white bread
- Butter for spreading
Instructions
- Boil the eggs: Crack and carefully place 6 large eggs in a pot, covering them with cold water to ensure they cook evenly without cracking.
- Heat the water: Bring the water to a boil over medium-high heat to start cooking the eggs.
- Simmer eggs: Once boiling, reduce heat to low and let the eggs simmer for 9 minutes to achieve perfectly hard-boiled eggs with set yolks.
- Prepare ice bath: While the eggs cook, prepare a bowl of ice water to stop the cooking process immediately after boiling.
- Cool the eggs: After 9 minutes, remove the eggs from heat and transfer them to the ice water using a slotted spoon to cool them quickly.
- Chill: Let the eggs cool in the ice water for about 5 minutes to make peeling easier and prevent overcooking.
- Peel and chop: Carefully peel the eggs and chop them into small pieces to create a fluffy filling.
- Mix filling: In a mixing bowl, combine the chopped eggs, mayonnaise, soy sauce, sugar, salt, and black pepper.
- Combine thoroughly: Mix the egg filling thoroughly until it is well blended and creamy.
- Butter the bread: Spread butter on one side of each of the 8 slices of white bread to add richness and prevent sogginess.
- Assemble sandwiches: Divide the egg filling evenly among 4 slices of bread, spreading it evenly on the buttered side.
- Top the sandwiches: Place the remaining 4 slices of bread on top of the egg-filled slices, buttered side down.
- Trim crusts: Trim the crusts off the sandwiches using a sharp knife for the traditional Japanese sandwich look and texture.
- Cut sandwiches: Cut each sandwich diagonally to create 2 triangular halves for easy eating and presentation.
- Serve or store: Serve the Japanese egg sandwiches immediately or wrap them in plastic wrap and refrigerate to enjoy later.
Notes
- Using cold water to start boiling the eggs helps to prevent cracking and ensures even cooking.
- Cooling eggs in ice water immediately after boiling stops the cooking process and makes peeling easier.
- For a creamier texture, adjust the amount of mayonnaise to taste.
- Traditional Japanese egg sandwiches are crustless and cut into neat triangles for a delicate presentation.
- These sandwiches are best enjoyed fresh but can be stored wrapped in the refrigerator for up to 24 hours.


