“`html
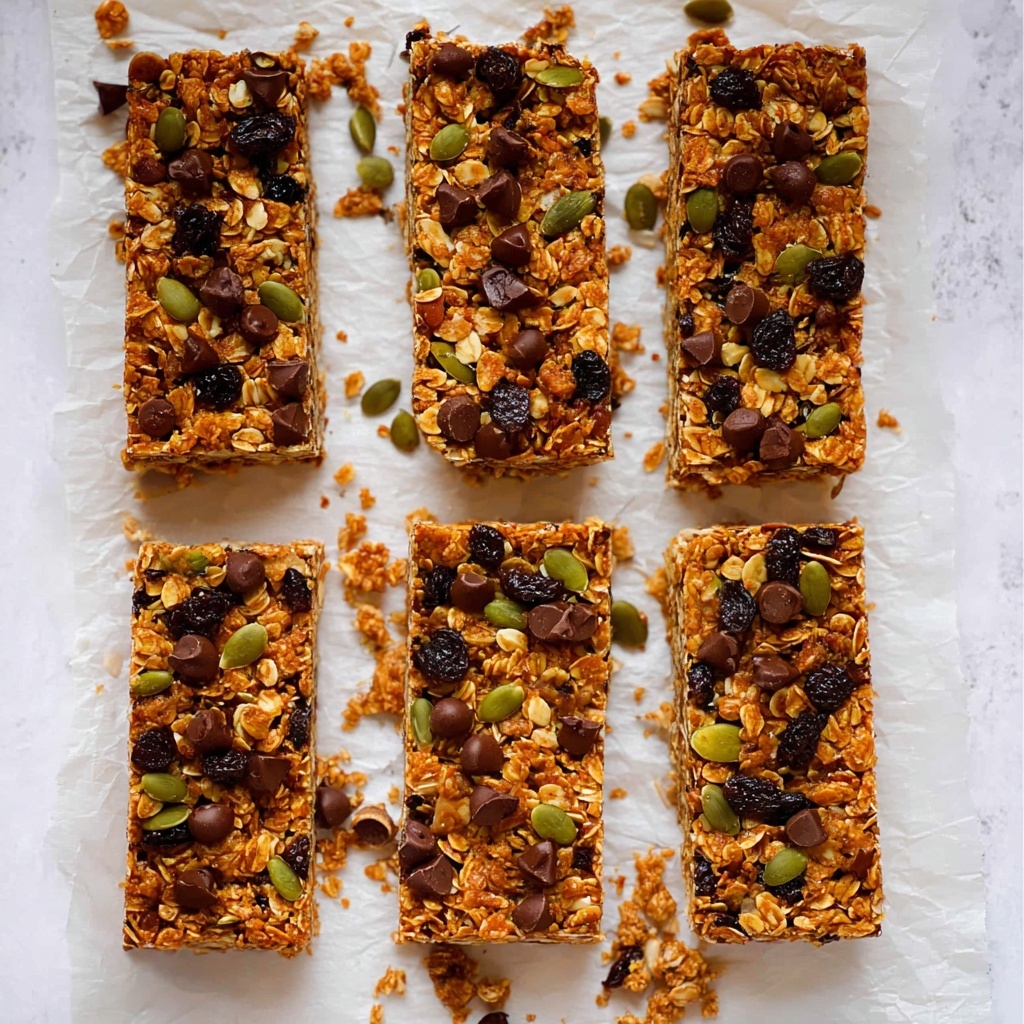
If you’ve ever craved a snack that’s wholesome, packed with flavor, and satisfyingly crunchy, then this Crunchy Homemade Muesli Bars with Honey, Peanut Butter, Almonds, and Chocolate Chips Recipe is your new best friend. Combining natural sweetness with the delightful crunch of nuts and seeds, plus a touch of chocolate to keep things fun, these bars are perfect for a quick breakfast, mid-morning snack, or an energy boost on the go. They are incredibly easy to make, and once you try them, I promise these bars will quickly become a staple in your kitchen repertoire.
Ingredients You’ll Need
To create these wonderful muesli bars, you only need a handful of simple ingredients, yet each plays a crucial role in flavor, texture, and overall yumminess. From creamy peanut butter adding richness to the naturally sweet honey binding everything together, every component shines through.
- Honey: Acts as a natural sweetener and sticky binder for holding all ingredients together.
- Natural peanut butter (smooth or crunchy): Adds creamy nuttiness and helps with the chewy texture.
- Rolled oats: Provide the hearty base and that classic granola crunch.
- Almonds (roughly chopped): Bring crunch and a lovely nutty flavor that complements the peanut butter.
- Pepitas (pumpkin seeds): Give an extra bite and are loaded with nutrients.
- Sultanas: Offer little bursts of natural sweetness and chewiness to balance textures.
- Cinnamon powder: Lends a warm, cozy note enhancing the overall flavor profile.
- Cooking/kosher salt: Elevates the flavors and balances the sweetness.
- Chocolate chips (small or regular dark, optional): Add a touch of indulgence and a melt-in-your-mouth contrast.
How to Make Crunchy Homemade Muesli Bars with Honey, Peanut Butter, Almonds, and Chocolate Chips Recipe
Step 1: Prepare your baking tin
Start by preheating your oven to 160°C (325°F) or 140°C fan-forced. Line an 8-inch square tin with baking paper, leaving an overhang on the sides. This simple step makes lifting out your bars a breeze later on without any greasing.
Step 2: Toast the oats, almonds, and pepitas
Spread rolled oats, roughly chopped almonds, and pepitas evenly on a baking tray. Pop them in the oven and toast for 10 minutes until fragrant and lightly golden. This step enhances their nuttiness and crunch dramatically, so don’t skip it. Transfer this toasted mix into a heatproof bowl and add in the sultanas, cinnamon, and salt—mix these through gently.
Step 3: Combine honey and peanut butter
Microwave the honey and peanut butter together in a heatproof jug for 30 seconds on high. Stir well until smooth and combined. Pour this sticky goodness over your oat mixture. It may feel tricky to mix at first, but keep a firm wrist! Use a cutting motion to fold the mixture together until everything is evenly coated. If it’s stubborn, just persevere—it will come together beautifully.
Step 4: Press the mixture firmly into the tin
Transfer your muesli mixture into the lined tin and press down very firmly. This compacts the ingredients so the bars hold their shape. If using chocolate chips, scatter them over the surface, cover with baking paper, then press gently to embed them into the mixture. This ensures the chocolate melts in perfectly without sliding around.
Step 5: Chill to set
Place the pressed mixture in the refrigerator for at least 1 hour. This chilling step allows everything to firm up enough to handle without breaking, making the cutting process a lot neater and easier.
Step 6: Preheat the oven again
While chilling finishes, preheat your oven once more to 160°C (325°F) or 140°C fan-forced, prepping for the final bake that creates that unbeatable crunch.
Step 7: Cut into bars
Use the baking paper overhang to lift the chilled muesli slab from the pan onto a cutting board. Cut the slab in half lengthwise, then each half into 5 bars for a total of 10. Carefully transfer them back to the tray for baking, spacing them out slightly to help the edges crisp up nicely.
Step 8: Bake until golden
Bake the bars for 25 minutes until the surface is golden and edges are deep golden brown but not burnt. This baking step is crucial to achieve that distinctive crunch and rich toasted flavor everyone loves in homemade muesli bars.
Step 9: Cool and enjoy
Once baked, leave the bars to cool completely on the tray. As they cool, they firm up and become wonderfully crunchy. Store any leftovers in an airtight container and refrigerate if your kitchen is warm—you’ll be happy to know these bars stay crisp for up to three weeks.
How to Serve Crunchy Homemade Muesli Bars with Honey, Peanut Butter, Almonds, and Chocolate Chips Recipe
Garnishes
Elevate your muesli bars by adding a drizzle of melted dark chocolate or a sprinkle of flaky sea salt on top before serving. Fresh berries or a dusting of cinnamon can also bring extra charm and flavor contrast.
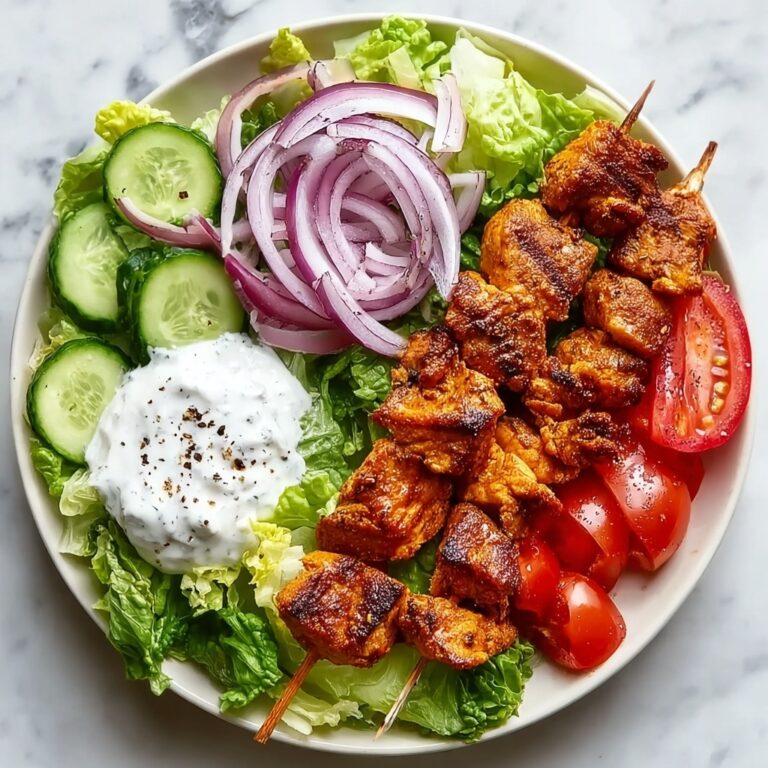
Side Dishes
Pair these bars with a creamy yogurt parfait or a cold glass of milk for a balanced and satisfying snack or light breakfast. A cup of tea or coffee also complements the nutty flavors perfectly during a quick break.
Creative Ways to Present
If you’re taking these bars on the road or sending them as gifts, wrap each bar individually in parchment paper tied with a thin ribbon. For a fun twist, drizzle with white chocolate and sprinkle crushed toasted coconut on top before the final bake for tropical flair.
Make Ahead and Storage
Storing Leftovers
Leftover muesli bars keep best in an airtight container. Store them at room temperature if your kitchen is cool; otherwise, refrigeration helps maintain their crunch and freshness, especially in warmer climates.
Freezing
These bars freeze wonderfully. Wrap each bar individually in plastic wrap or parchment paper, then place them in a freezer-safe bag or container. They’ll last up to 3 months frozen, perfect for batch prep and future snacks.
Reheating
If you’d like a slightly softer or warmed bar, pop one in the microwave for about 10 seconds or in a warm oven for a few minutes. Warming brings out the peanut butter and chocolate flavors beautifully without sacrificing that signature crunch.
FAQs
Can I use crunchy peanut butter instead of smooth?
Absolutely! Crunchy peanut butter adds an extra layer of texture that works wonderfully in this recipe. It complements the toasted nuts and seeds perfectly and will give your bars a more rustic feel.
What can I substitute if I don’t have pepitas?
If pumpkin seeds aren’t handy, sunflower seeds or additional almonds make great substitutes. They provide a similar crunch and nutrient boost, perfectly fitting the crunchy homemade muesli bars flavor profile.
Can I make these bars vegan?
Yes! Swap honey for maple syrup or agave nectar to keep it vegan-friendly. The texture might be slightly different but just as delicious and wholesome.
How do I prevent my bars from sticking to the pan?
Lining the tin with baking paper and leaving an overhang is the secret. This allows you to easily lift the entire block out for cutting without the hassle of sticking or crumbling.
Are these bars suitable for kids’ lunchboxes?
Definitely! They are naturally sweetened and packed with nutritious ingredients, making them an ideal healthy treat. Just be mindful of any nut allergies before sending them off to school.
Final Thoughts
There’s something truly special about making your own Crunchy Homemade Muesli Bars with Honey, Peanut Butter, Almonds, and Chocolate Chips Recipe from scratch. Not only do you get full control over the ingredients, but the vibrant blend of textures and flavors is utterly satisfying. Once you try these bars, I’m confident they’ll become your go-to when you want a wholesome, crunchy snack that feels like a little homemade hug. So grab those simple ingredients, get baking, and enjoy every joyful bite!
“`
Print
Crunchy Homemade Muesli Bars with Honey, Peanut Butter, Almonds, and Chocolate Chips Recipe
- Prep Time: 10 minutes
- Cook Time: 35 minutes
- Total Time: 45 minutes plus 1 hour refrigeration
- Yield: 10 bars
- Category: Snack
- Method: Baking
- Cuisine: Western
- Diet: Vegetarian
Description
These Crunchy Muesli Bars are a delightful homemade snack perfect for breakfast or an energy-boosting treat. Made with wholesome ingredients like rolled oats, almonds, pepitas, sultanas, and a touch of honey and peanut butter, they offer a perfect balance of sweetness and crunch. Easy to prepare and bake, these bars stay fresh and crunchy for weeks, making them an ideal grab-and-go snack.
Ingredients
Wet Ingredients
- 1/4 cup honey
- 1/4 cup natural peanut butter, smooth or crunchy
Dry Ingredients
- 1 1/2 cups rolled oats (not steel cut)
- 1/2 cup almonds, roughly chopped
- 1/4 cup pepitas (pumpkin seeds)
- 1/2 cup sultanas
- 3/4 tsp cinnamon powder (or pumpkin spice)
- 1/4 tsp cooking/kosher salt
Optional
- 2 tbsp small chocolate chips or 3 tbsp regular dark chocolate chips
Instructions
- Preheat Oven: Preheat your oven to 160°C/325°F (140°C fan-forced). Line a 20 cm / 8″ square tin with baking paper, leaving an overhang for easy removal later; greasing is not necessary.
- Toast Dry Ingredients: Spread the rolled oats, roughly chopped almonds, and pepitas on a baking tray. Bake them for 10 minutes to toast lightly, then transfer the toasted mixture into a heatproof bowl. Add sultanas, cinnamon powder, and salt to the bowl and mix well.
- Make Muesli Mixture: In a heatproof jug, microwave the honey and peanut butter on high for 30 seconds. Stir to combine until smooth. Pour this mixture over the toasted oat blend and mix thoroughly. It may seem difficult to fully incorporate at first, but keep stirring using a cutting motion to evenly coat all ingredients.
- Press Mixture into Pan: Transfer the combined muesli mixture into the prepared baking pan. Press down firmly and evenly to compact the mixture. Once cooled slightly, scatter chocolate chips over the surface. Cover with a sheet of baking paper and press down firmly again to embed the chocolate chips into the bars.
- Refrigerate: Refrigerate the pan for 1 hour or until the mixture is firm enough to lift out without bending.
- Preheat Oven Again: Preheat your oven again to 160°C/325°F (140°C fan-forced) preparing for the final bake.
- Cut Bars: Use the baking paper overhang to lift the muesli slab out onto a cutting board. Cut the slab in half, then cut each half into 5 bars, making a total of 10 bars. Transfer them back onto a baking tray, spacing them out to ensure even baking.
- Bake: Bake the bars for 25 minutes or until they turn golden on the surface and golden brown around the edges but are not burnt.
- Cool and Store: Remove the tray from the oven and allow the bars to cool on the tray; they will firm up and become crunchy as they cool. Once fully cooled, store the bars in an airtight container. Keep refrigerated if your environment is warm. These bars remain crunchy for up to 3 weeks.
Notes
- Note 1: Honey acts as the natural sweetener and binder in this recipe.
- Note 2: Smooth or crunchy natural peanut butter can be used depending on preference.
- Note 4: Chocolate chips are optional but add a delicious touch; small chips blend better, but regular dark chocolate chips work too.
- Note 5: Toasting the oats and nuts enhances their flavor and crunchiness.
- Note 6: Warming the honey and peanut butter makes it easier to combine thoroughly.
- Note 7: If mixing the wet and dry ingredients is difficult, use a sturdy spatula and cutting motions to fully incorporate the mixture.


