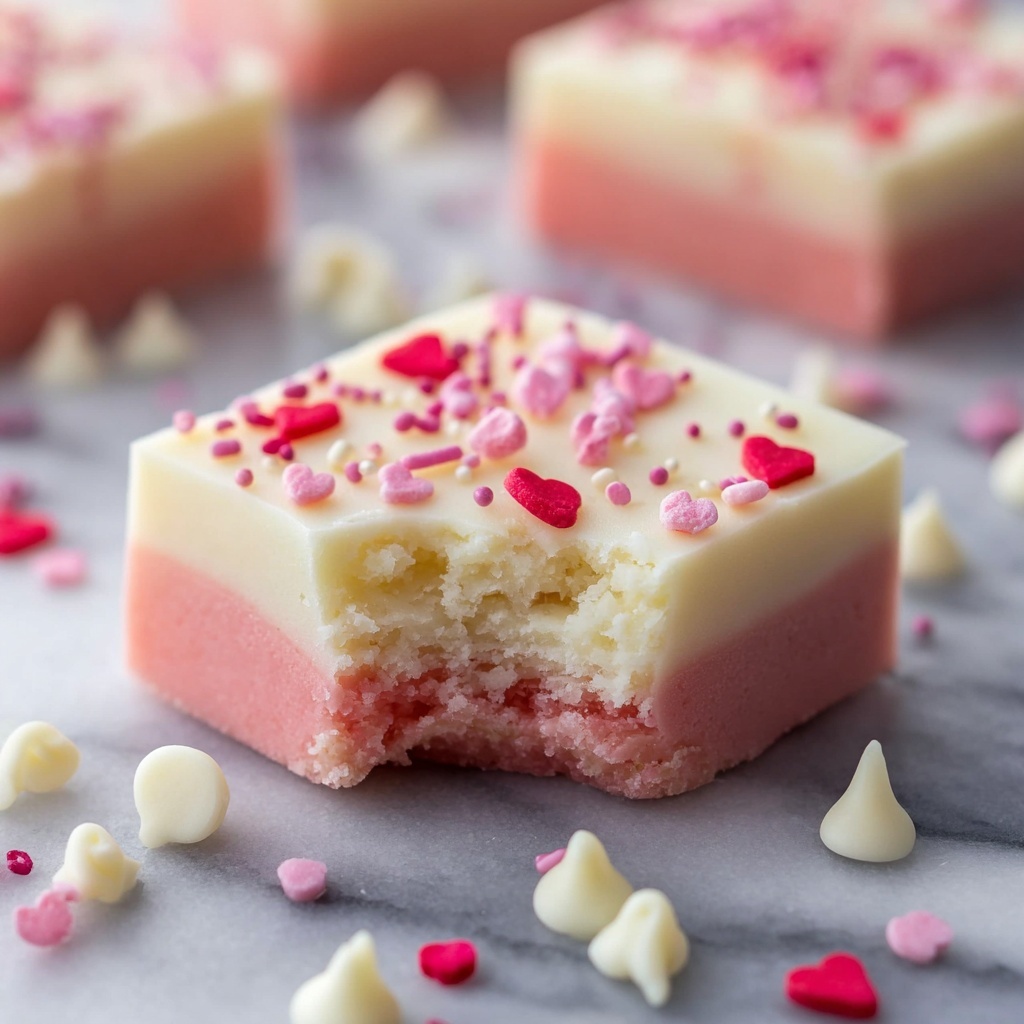
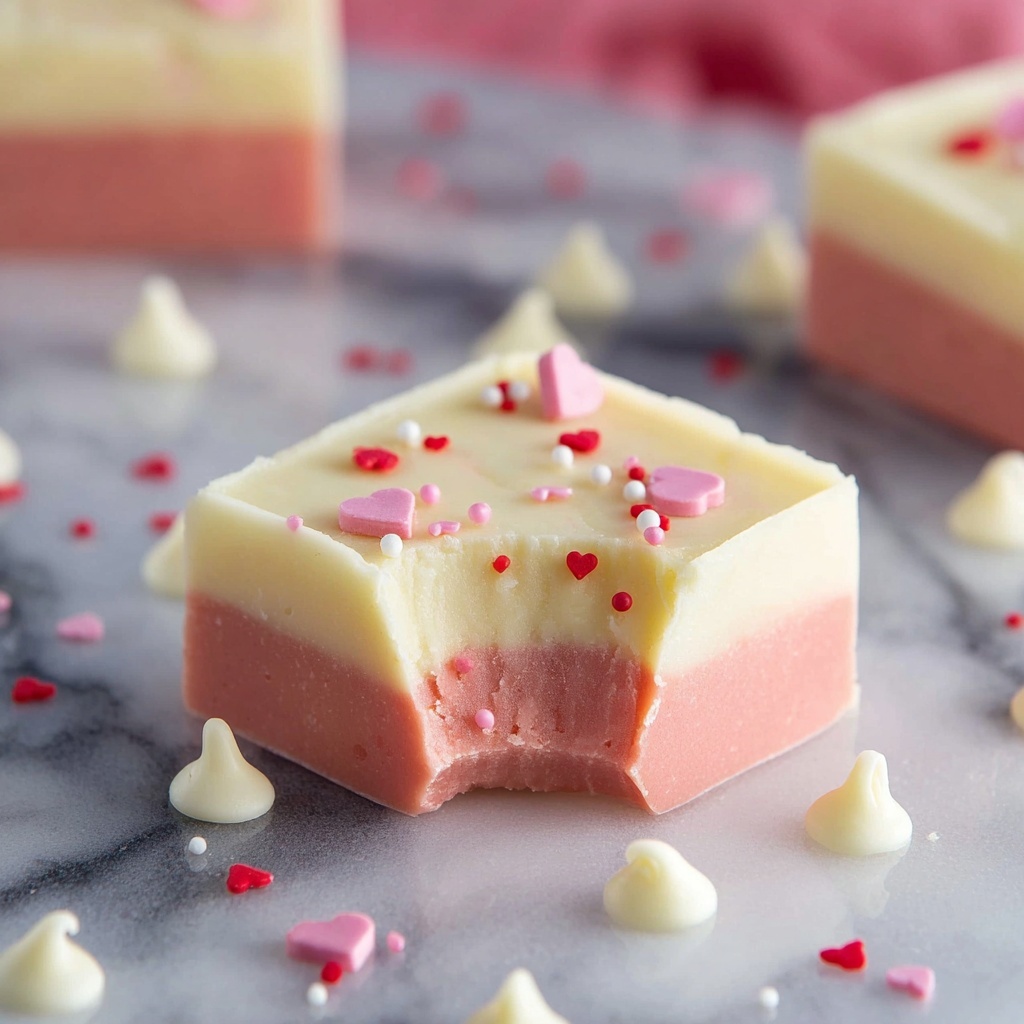
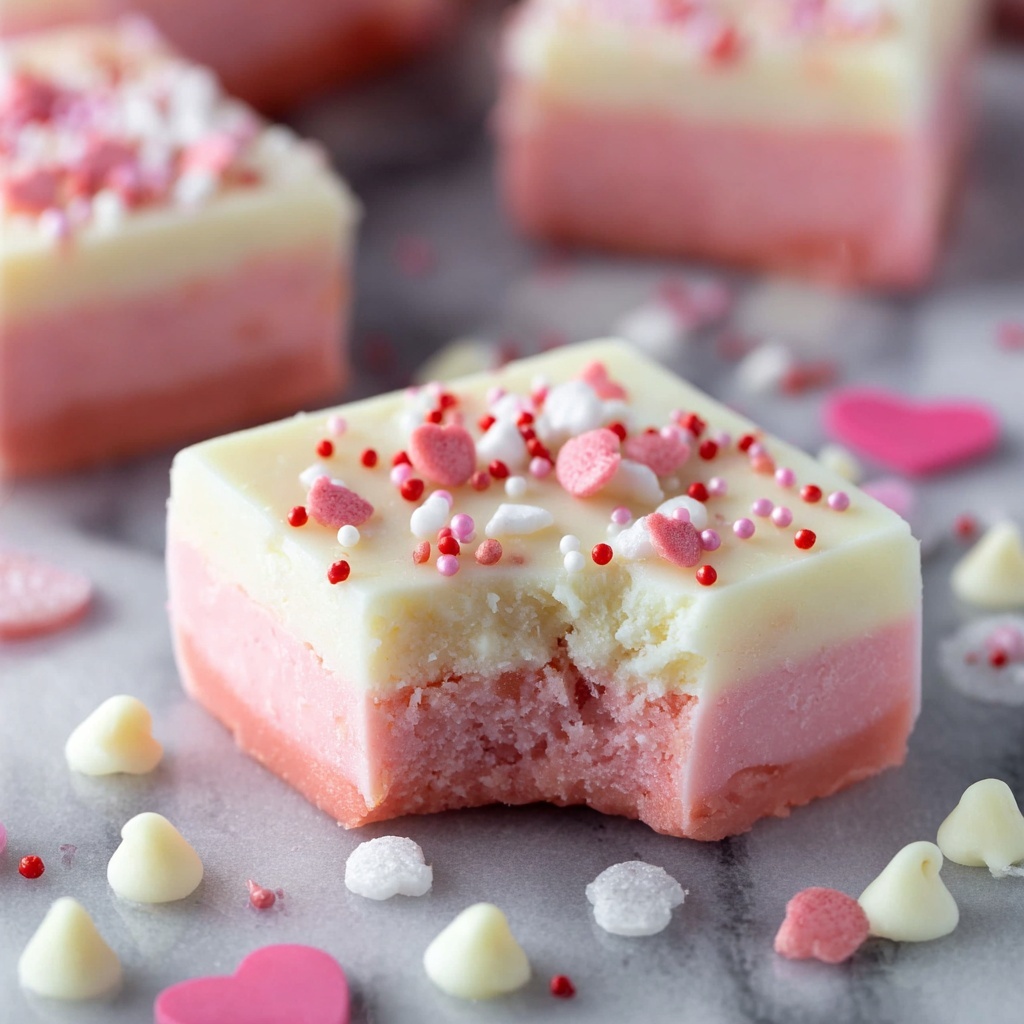
If you want to make a sweet treat that truly captures the spirit of love and celebration, this Valentine’s Day White Chocolate Fudge Recipe is exactly what you need. Bursting with creamy white chocolate and a gentle hint of vanilla, this fudge is both visually charming with its layers of soft pink and pure white, and delightfully rich in flavor. Whether you’re surprising someone special or just craving a luscious homemade dessert, this recipe strikes the perfect balance between simplicity and elegance, making it a heartwarming favorite for Valentine’s Day.
Ingredients You’ll Need
Each ingredient in this Valentine’s Day White Chocolate Fudge Recipe plays a key role in creating the perfect texture, taste, and color that make this fudge so irresistible. You’ll find they are simple staples, but together they transform into a decadent confection worth sharing.
- White chocolate chips: The base of your fudge, providing that luscious, creamy sweetness that melts in your mouth.
- Sweetened condensed milk (300 ml): Adds richness and smooth texture, helping the chocolate bind perfectly.
- Pinch of salt: A subtle touch to balance the sweetness and enhance the flavors.
- Red food coloring: The magic ingredient that turns one layer into a lovely Valentine’s pink, adding a festive pop of color.
- Vanilla extract (1 teaspoon): Infuses the fudge with a warm, comforting aroma and rounds out the sweetness.
- Valentine sprinkles: Adds a fun, decorative finish that’s perfect for the holiday’s cheerful vibe.
How to Make Valentine’s Day White Chocolate Fudge Recipe
Step 1: Prepare Your Pan
Start by lining an 8-inch square pan with parchment paper. This step is a game changer—your fudge won’t stick to the pan, making cutting and serving a breeze later on.
Step 2: Mix First Layer Ingredients
In a large microwavable bowl, combine 1½ cups of white chocolate chips, half the can of sweetened condensed milk, and a pinch of salt. This blend lays the creamy foundation for your vibrant pink layer.
Step 3: Melt the Chocolate Mixture
Microwave the bowl for 20 seconds at a time, stirring after each interval to ensure a smooth yet controlled melt. This method prevents scorching and helps you achieve that perfect glossy fudge base.
Step 4: Add Flavor and Color
Stir in ½ teaspoon of vanilla extract along with 2 drops of red food coloring. Keep adding drops if you prefer a deeper pink—this is where your fudge begins to look as lovely as it tastes.
Step 5: Set the Pink Layer
Evenly spread the pink mixture into your prepared pan, smoothing the surface. Pop it in the fridge to cool for about 30 minutes until it firms up just right.
Step 6: Prepare the Second Layer
Take the remaining white chocolate chips and condensed milk, combine them in a clean microwavable bowl with a pinch of salt. This will become the pure white top layer that contrasts beautifully with the pink underneath.
Step 7: Melt the Second Mixture
Repeat microwaving as before—20 seconds at a time, stirring each time until the chocolate chips have melted completely and the mixture is smooth.
Step 8: Flavor the White Layer
Add the remaining ½ teaspoon of vanilla extract to the melted mixture and stir well. This step ensures every bite is infused with that comforting vanilla essence.
Step 9: Layer the White Fudge
Gently pour and spread the white fudge over the pink layer in your pan. Take care to achieve an even layer so your final fudge looks neat and inviting.
Step 10: Decorate with Sprinkles
Sprinkle a generous amount of Valentine-themed sprinkles on top. These add texture, color, and festive charm that make this fudge perfect for celebrations.
Step 11: Chill Until Firm
Place your pan in the refrigerator for about 2 hours to let the fudge set completely. Patience here results in fudge you can cut perfectly into lovely squares.
Step 12: Slice and Store
Once firm, lift the fudge from the pan using the parchment paper and cut into 16 even pieces. Store them tightly covered at room temperature to keep them soft and delicious.
How to Serve Valentine’s Day White Chocolate Fudge Recipe
Garnishes
While the Valentine sprinkles add plenty of charm, you can also experiment with edible glitter, shredded coconut, or tiny heart-shaped candies for an extra-special touch. These garnishes enhance both presentation and texture, making each piece a little celebration of its own.
Side Dishes
This fudge pairs wonderfully with a hot cup of rich coffee or a mild tea, which help balance the sweetness. If you’re aiming for a festive spread, serve with fresh berries or a light citrus salad to cut through the fudge’s creamy richness.
Creative Ways to Present
Think beyond the classic square! Wrap individual fudge pieces in colorful wax paper tied with ribbons for gift-giving. Or layer fudge squares in a clear glass jar for a layered Valentine’s Day gift that’s as beautiful as it is delicious.
Make Ahead and Storage
Storing Leftovers
Keep your leftover fudge in an airtight container at room temperature for up to a week. Proper storage preserves the fudge’s smooth texture and delicate flavor without losing its softness or becoming crumbly.
Freezing
If you want to make this Valentine’s Day White Chocolate Fudge Recipe well in advance, you can freeze it. Wrap pieces individually in wax paper, then place in a freezer-safe container. Thaw at room temperature before serving to enjoy that perfectly creamy texture.
Reheating
Fudge usually doesn’t require reheating, but if it feels too firm, you can leave it out for a bit to soften or warm gently in your hands. Avoid microwaving, as overheating white chocolate can cause it to seize and lose its silky consistency.
FAQs
Can I use regular chocolate instead of white chocolate chips?
You can substitute with regular chocolate, but remember that it will change the color and flavor profile drastically. The creamy sweetness and signature look of this Valentine’s Day White Chocolate Fudge Recipe come from those white chocolate chips, so it’s best to stick to them for the original experience.
What if I don’t have red food coloring?
Without red food coloring, your fudge won’t achieve that classic Valentine’s pink layer, but it will still taste amazing. You could try natural colorants like beet juice for a subtle tint, just keep in mind it may slightly alter flavor.
Can I make this fudge without a microwave?
Absolutely! Use a double boiler method on the stove to melt your chocolate and condensed milk gently. Stir continuously to avoid burning the chocolate and maintain that velvety texture this recipe is known for.
How can I make the fudge more festive?
Beyond Valentine sprinkles, add finely chopped nuts, freeze-dried strawberry bits, or even swirl some raspberry jam into the white layer before chilling. These add texture and bursts of flavor that elevate your Valentine’s Day White Chocolate Fudge Recipe even more.
Is this fudge suitable for gifting?
Definitely! Its beautiful layers, festive sprinkles, and delightful taste make it the perfect homemade gift. Package it in pretty boxes or jars and watch it bring smiles to anyone lucky enough to receive it.
Final Thoughts
There’s something truly special about making a heartfelt treat from scratch, and this Valentine’s Day White Chocolate Fudge Recipe makes that easier than ever. With its creamy texture, sweet vanilla notes, and eye-catching pink layer, it’s sure to become a new favorite for celebrating love and friendship. Give it a try and share a little sweetness this Valentine’s Day—you’ll be so glad you did!
Print
Valentine’s Day White Chocolate Fudge Recipe
- Prep Time: 10 minutes
- Cook Time: 0 minutes
- Total Time: 2 hours 10 minutes
- Yield: 16 squares
- Category: Dessert
- Method: No-Cook
- Cuisine: American
Description
This Valentine’s Day Fudge recipe is a delightful no-bake treat featuring creamy white chocolate layered with a festive pink tinted fudge base, topped with colorful Valentine sprinkles. Perfect for sharing at celebrations or gifting to loved ones, this easy-to-make fudge combines sweetened condensed milk and white chocolate to create a rich, melt-in-your-mouth confection.
Ingredients
Pink Fudge Layer
- 1½ cups white chocolate chips
- 150 ml sweetened condensed milk (half of a 300 ml can)
- Pinch of salt
- 2 drops red food coloring (adjust to get desired pink shade)
- ½ teaspoon vanilla extract
White Fudge Layer
- 1½ cups white chocolate chips
- 150 ml sweetened condensed milk (remaining half of the 300 ml can)
- Pinch of salt
- ½ teaspoon vanilla extract
Topping
- Valentine sprinkles
Instructions
- Prepare the pan: Line an 8-inch square pan with parchment paper and set aside to ensure easy removal of the fudge later.
- Mix pink fudge ingredients: In a large microwavable bowl, combine 1½ cups white chocolate chips, half the can of sweetened condensed milk (150 ml), and a pinch of salt.
- Microwave pink fudge mixture: Heat the mixture in the microwave for 20-second intervals, stirring well between each until the chocolate is completely melted and smooth.
- Add flavor and color to pink fudge: Stir in ½ teaspoon vanilla extract and add 2 drops of red food coloring, mixing until the color is evenly distributed. Add more food coloring if a deeper pink shade is desired.
- Set pink fudge layer: Pour and spread the pink fudge evenly into the prepared pan and allow it to cool for 30 minutes so it begins to set.
- Prepare white fudge ingredients: In another large microwavable bowl, combine the remaining 1½ cups white chocolate chips, 150 ml sweetened condensed milk, and a pinch of salt.
- Microwave white fudge mixture: Microwave again in 20-second increments, stirring each time, until the chocolate has melted completely and the mixture is smooth.
- Add vanilla to white fudge: Stir in ½ teaspoon vanilla extract.
- Layer white fudge: Spread the white fudge evenly over the pink fudge layer in the pan.
- Add sprinkles: Sprinkle Valentine-themed sprinkles generously over the white fudge layer for decoration.
- Chill fudge: Refrigerate the fudge in the pan for about 2 hours or until firm and set.
- Serve and store: Remove fudge from the pan using the parchment paper, cut into 16 squares, and store tightly covered at room temperature.
Notes
- Microwaving in short increments helps prevent the chocolate from burning.
- For a more intense pink color, add food coloring gradually while tasting to ensure flavor balance.
- Make sure to use parchment paper for easier removal of fudge from the pan.
- Store fudge in an airtight container at room temperature for up to one week.
- Use good quality white chocolate chips for best flavor and texture.


