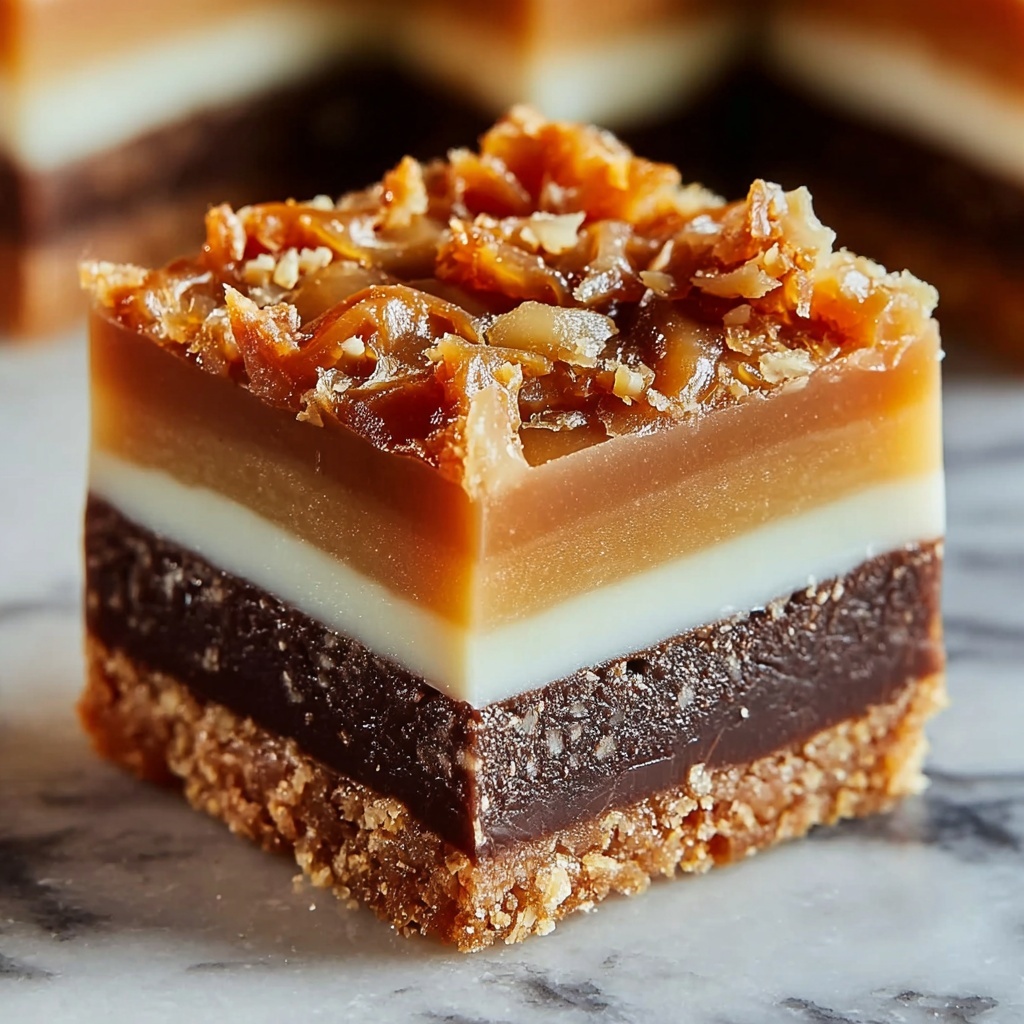
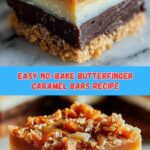
If you’ve ever dreamed of a dessert that brings together the crunch of candy, the gooey sweetness of caramel, and the comforting ease of no-bake prep, then you’re in for a treat with the Indulgent Butterfinger Caramel Bars: Easy No-Bake Delight Recipe. This scrumptious bar combines buttery graham crackers, melty marshmallows, rich caramel, and the iconic crunch of Butterfinger in a dessert that’s as simple to make as it is impossible to resist. Whether you’re whipping up a last-minute party snack or craving a cozy homemade treat, these bars are guaranteed to satisfy your sweet tooth with every bite.
Ingredients You’ll Need
Getting started on these bars means gathering a handful of simple yet essential ingredients. Each one plays a crucial role—adding texture, sweetness, or that irresistible flavor punch you crave in a dessert. Plus, they’re pantry-friendly and easy to swap if you need to.
- 2 cups Graham Crackers: Crushed to give your bars a buttery, crunchy base that holds everything together perfectly.
- 2 cups Mini Marshmallows: These add light, fluffy sweetness and melt beautifully to bind the bars.
- 1 cup Caramel Bits: Incredibly gooey and sweet, these bring that signature sticky caramel magic.
- 1 cup Butterfinger Bites/Regular Bars: Packed with crispy, peanut buttery crunch, these are the star ingredient you don’t want to skip.
- 2 tablespoons Milk: Just enough to help everything meld smoothly—any milk type works great for flexibility.
- 0.5 cup Chocolate Drizzle: Melt your favorite chocolate to drizzle on top for a luscious finish that makes these bars look as good as they taste.
- Sea Salt: A sprinkle on top intensifies all the flavors by adding that perfect salty contrast.
How to Make Indulgent Butterfinger Caramel Bars: Easy No-Bake Delight Recipe
Step 1: Prep Your Base
Start by crushing the graham crackers into fine crumbs—this forms the delicious base. Use a food processor or place them in a bag and crush with a rolling pin for a rustic touch. Then, lightly toast the crumbs in a pan to bring out their nutty flavor. This step sets up the perfect foundation for texture and taste.
Step 2: Melt and Mix Marshmallows with Milk
In a large saucepan over low heat, combine the mini marshmallows with the milk. Stir continuously until they melt into a smooth, sticky mixture. This sticky base is what holds your bars together, and the milk ensures it’s neither too thick nor too sticky, just right for binding.
Step 3: Add Caramel Bits and Butterfinger Pieces
Stir in the caramel bits until they begin to soften, folding in the Butterfinger pieces carefully so they stay chunky yet evenly distributed. This blend of melty caramel and crunchy candy promises each bite is a delightful mix of textures and flavors.
Step 4: Combine with Graham Cracker Base
Fold the graham cracker crumbs gently into your marshmallow, caramel, and candy mixture. This step needs a gentle hand to keep those lovely candy bits intact while ensuring everything is evenly coated with that gooey binding goodness.
Step 5: Press into a Pan and Chill
Transfer the mixture to a lined or greased 9×9-inch baking pan. Press down firmly but evenly with a spatula or the back of a spoon so the bars hold their shape once set. Pop your pan in the fridge and chill for at least one hour to allow the bars to firm up beautifully.
Step 6: Add Chocolate Drizzle and Sea Salt
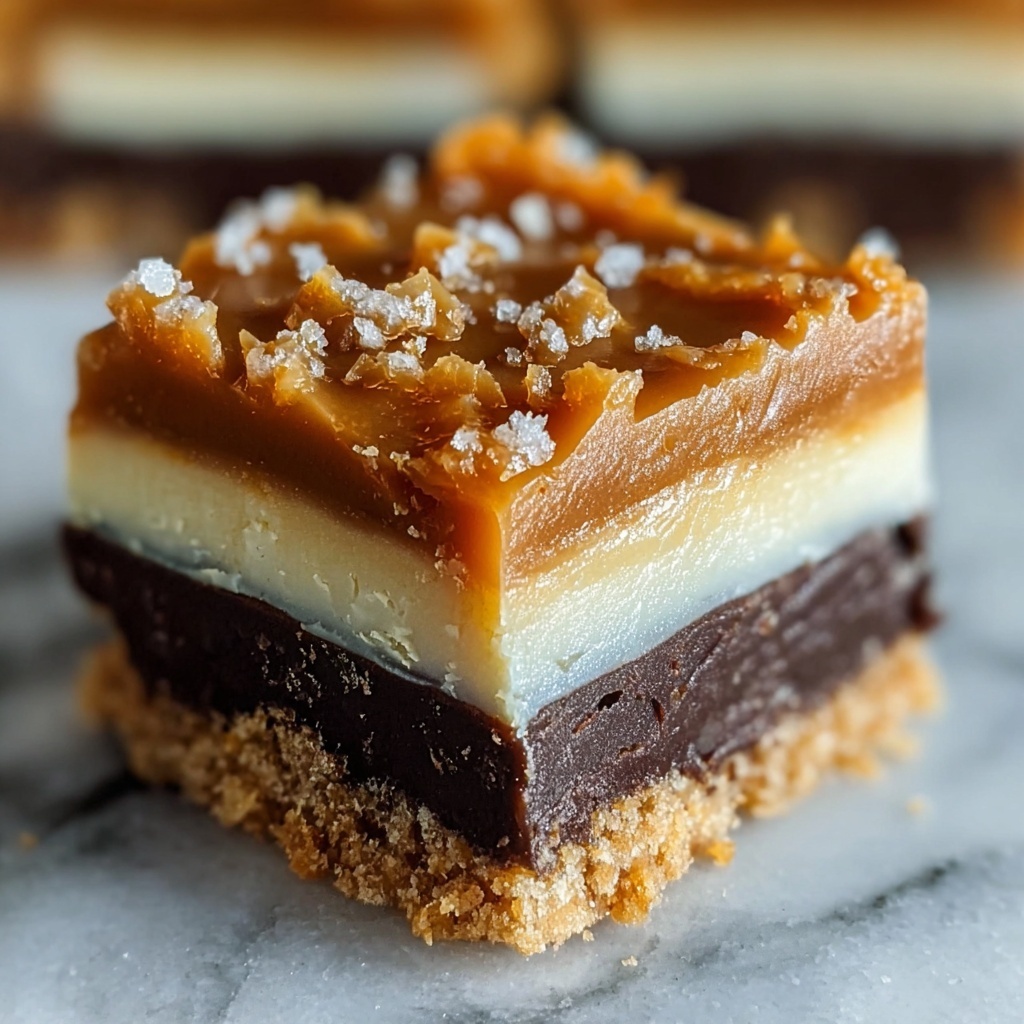
Once set, melt your favorite chocolate and drizzle it generously over the top. Finish with a delicate sprinkle of sea salt to elevate the flavors and provide a contrasting kick that will make these bars truly irresistible. Slice into squares and get ready to dive in!
How to Serve Indulgent Butterfinger Caramel Bars: Easy No-Bake Delight Recipe

Garnishes
To make your bars look as gorgeous as they taste, sprinkle a handful of finely chopped Butterfinger pieces or crushed graham crackers on top of the chocolate drizzle. A light dusting of cocoa powder or a few whole mini marshmallows add an inviting touch that excites both the eyes and the palate.
Side Dishes
Pair these bars with a scoop of vanilla ice cream or a dollop of freshly whipped cream for an extra decadent experience. They also complement a simple cup of coffee or hot chocolate, making for a cozy afternoon treat or post-dinner indulgence you’ll look forward to every time.
Creative Ways to Present
For parties or gifting, layer cut bars into a clear glass jar or wrap them individually in parchment paper tied with a ribbon. You can even stack them with parchment in between to keep their layers intact and look super inviting when you present them to friends and family.
Make Ahead and Storage
Storing Leftovers
Keep your bars fresh by storing them in an airtight container at room temperature for up to three days. If your kitchen is warm, storing them in the fridge is a great alternative to maintain that perfect chewy texture without the caramel melting too much.
Freezing
Indulgent Butterfinger Caramel Bars: Easy No-Bake Delight Recipe freezes beautifully. Wrap individual bars in plastic wrap and place them in an airtight container or freezer bag. They will keep well for up to two months—perfect for preparing ahead or saving some deliciousness for later.
Reheating
While these bars are best enjoyed chilled or at room temperature, if you prefer a warm treat, microwave a bar in 10-second increments just until soft but not melted. This subtle warmth enhances the gooey caramel and marshmallow without losing that delightful crunch.
FAQs
Can I substitute the Butterfinger pieces with another candy?
Absolutely! While Butterfinger is iconic for these bars, feel free to use any chocolate-covered candy or your favorite crunchy peanut butter treat to customize the flavor and texture to your liking.
Are these bars gluten-free?
These bars rely on graham crackers, which traditionally contain gluten. However, you can substitute gluten-free graham crackers or digestive biscuits to make a gluten-free version with equally fantastic results.
Do I need special equipment to make these bars?
Not at all! A saucepan, a mixing bowl, and a pan to set the bars are all you need. Crushing the crackers can be done by hand or with a rolling pin—no fancy gadgets required.
Can I make these bars vegan?
To make a vegan version of the Indulgent Butterfinger Caramel Bars: Easy No-Bake Delight Recipe, use dairy-free butter, vegan marshmallows, and vegan caramels. Ensure the chocolate you use for drizzle is also dairy-free.
How long do these bars last once made?
Stored properly, these bars will stay fresh and delicious for up to a week. Just keep them airtight and cool, and they’ll retain their perfect gooeyness and crunch.
Final Thoughts
If you’re craving an irresistibly sweet and crunchy treat that’s both simple and impressive, the Indulgent Butterfinger Caramel Bars: Easy No-Bake Delight Recipe should be your go-to. With minimal prep and maximum flavor, these bars bring joy to every occasion, making you look like an absolute dessert hero without breaking a sweat. Go ahead and treat yourself to this effortless delight—you won’t regret it!
Print
Indulgent Butterfinger Caramel Bars: Easy No-Bake Delight Recipe
- Prep Time: 11 minutes
- Cook Time: 0 minutes
- Total Time: 11 minutes plus 1 hour chilling
- Yield: 12 bars
- Category: Dessert
- Method: No-Cook
- Cuisine: American
Description
Indulgent Butterfinger Caramel Bars are a no-bake, easy-to-make dessert combining crunchy graham crackers, gooey marshmallows, rich caramel, and crunchy Butterfinger candy bites. Topped with a luscious chocolate drizzle and a sprinkle of sea salt, these bars offer a perfect balance of sweet and salty flavors, ideal for satisfying your dessert cravings without turning on the oven.
Ingredients
Base & Mix-Ins
- 2 cups Graham Crackers (substitute with digestive biscuits if needed)
- 2 cups Mini Marshmallows (regular marshmallows chopped can also work)
- 1 cup Caramel Bits (unwrapped caramels can be used as an alternative)
- 1 cup Butterfinger Bites or regular Butterfinger Bars (can swap with any favorite chocolate-covered candy)
Binding & Topping
- 2 tablespoons Milk (any type, dairy or non-dairy)
- 0.5 cup Chocolate Drizzle (made with your favorite melting chocolate)
- Sea Salt (a sprinkle on top to enhance flavor)
Instructions
- Prepare the Base: Crush the graham crackers into small pieces and set aside. This will form the crunchy base and texture throughout the bars.
- Melt and Mix: In a large microwave-safe bowl or on stovetop, gently melt the caramel bits and mini marshmallows together, stirring frequently to avoid burning. Add milk to help create a smooth, sticky mixture that will bind the ingredients.
- Add Candy and Combine: Stir in the crushed graham crackers and Butterfinger bites into the melted caramel-marshmallow mixture, ensuring everything is well coated and combined evenly.
- Shape the Bars: Transfer the mixture into a lined or greased pan, pressing it down firmly and evenly to create a compact layer. Refrigerate for at least one hour to set the bars.
- Chocolate Drizzle and Finishing Touch: Melt your preferred chocolate and drizzle over the top of the set bars. Sprinkle a pinch of sea salt across the bars to enhance the flavors.
- Serve: Once the chocolate drizzle has hardened slightly, cut the confection into 12 bars. Serve chilled or at room temperature for best enjoyment.
Notes
- Use digestive biscuits as a substitute for graham crackers if unavailable.
- Regular marshmallows can be chopped if mini marshmallows are not on hand.
- Unwrapped caramel candies can replace caramel bits but require extra melting time.
- Customize the candy bites used to your favorite chocolate treats for variety.
- Chill bars thoroughly to ensure clean cutting and better texture.
- Store leftover bars in an airtight container in the refrigerator for up to a week.