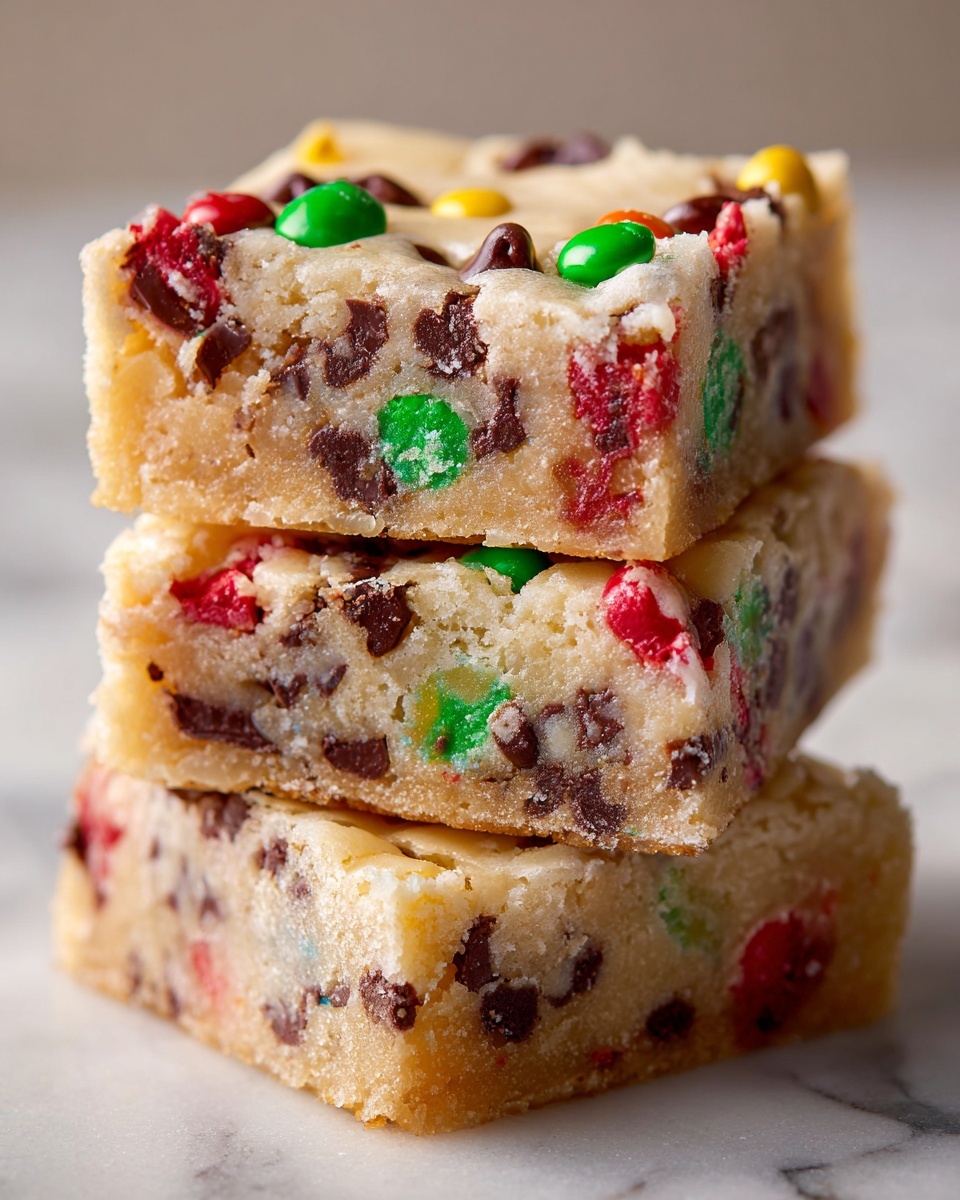
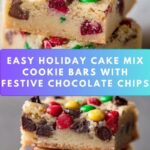
If you are looking for a fun, festive, and absolutely irresistible treat to share during the season, this Holiday Cake Mix Cookie Bars Recipe is a must-try. Bursting with holiday-colored chocolate chips, sprinkles, and a tender, buttery crumb from the cake mix base, these bars deliver that perfect balance of chewy and soft with every bite. Whether you’re whipping them up for a family gathering or as a last-minute gift, they bring a joyful pop of color and flavor everyone will adore. Plus, they’re super straightforward to make, which means more time enjoying and less time fussing in the kitchen!
Ingredients You’ll Need
With just a handful of simple ingredients, you can create these festive bars that shine in taste, texture, and appearance. Each element is carefully chosen to contribute something special, from the moist, tender base to the delightful bursts of color and sweetness.
- Yellow or vanilla cake mix: The foundation of the bars, providing softness and sweetness without extra effort.
- Unsalted butter, melted: Adds richness and helps achieve a perfectly tender texture.
- Large eggs: Bind everything together and give structure to the cookie bars.
- Holiday-colored chocolate chips or M&Ms: Brings festive colors and melty pockets of chocolate in every bite.
- White chocolate chips (optional): Adds a creamy sweetness and complements the colorful chips beautifully.
- Holiday sprinkles: For that eye-catching, cheerful pop of texture and visual fun.
How to Make Holiday Cake Mix Cookie Bars Recipe
Step 1: Prepare Your Pan
First things first, preheat your oven to 350°F (175°C). Get your 9×13-inch baking pan ready by lining it with parchment paper or greasing it well; this ensures your bars come out clean and easy to slice later.
Step 2: Mix the Base Ingredients
In a large bowl, combine the cake mix, melted butter, and eggs. Stir until everything is fully incorporated. The dough will be thick and rich, which is exactly what you want for that perfect chewy texture.
Step 3: Fold in the Festive Mix-Ins
Now comes the fun part: fold in those holiday-colored chocolate chips or M&Ms, white chocolate chips if you’re using them, and the sprinkles. These add not only bursts of flavor but make the bars look truly festive and inviting.
Step 4: Press Dough into the Pan
Transfer your cookie dough into the prepared pan, spreading it evenly. Press it gently so it’s uniform in thickness — this helps it bake evenly and slice perfectly.
Step 5: Bake to Perfection
Bake for 20 to 25 minutes until the edges turn a lovely golden color and the center is set but still soft. This baking window guarantees a luscious, tender inside with just the right crisp at the edges.
Step 6: Cool and Slice
Once baked, let the cookie bars cool completely in the pan. Cooling is a crucial step that helps them firm up so you can slice them neatly into about 20 delightful bars.
How to Serve Holiday Cake Mix Cookie Bars Recipe
Garnishes
A simple dusting of powdered sugar or an extra sprinkle of colorful holiday sprinkles right before serving can elevate these bars to party-ready status. For a touch of elegance, drizzle melted white or dark chocolate in a zigzag over the top.
Side Dishes
Pair these cookie bars with a scoop of vanilla ice cream or a dollop of whipped cream for an indulgent dessert. Glasses of cold milk, hot cocoa, or a festive holiday punch also complement their sweetness beautifully.
Creative Ways to Present
Stack the bars on a festive platter or wrap individual bars in clear cellophane tied with colorful ribbons for easy gifting. You can also arrange them alongside other holiday treats for a vibrant dessert spread that’s sure to impress.
Make Ahead and Storage
Storing Leftovers
Store any leftover bars in an airtight container at room temperature for up to 3 days to keep them chewy and fresh. They make a delicious snack to enjoy throughout the week.
Freezing
If you want to save some for later, wrap the bars tightly in plastic wrap and place them in a freezer bag. They freeze well for up to 2 months, allowing you to enjoy that festive flavor anytime.
Reheating
When ready to enjoy frozen bars, thaw them overnight at room temperature. For an extra fresh-from-the-oven experience, pop a bar in the microwave for 10 to 15 seconds — warm and gooey again in no time!
FAQs
Can I use a different cake mix flavor?
Absolutely! While yellow or vanilla cake mix works great for these cookie bars, you can experiment with white, almond, or even spice cake mixes to create different flavor profiles that fit your holiday mood.
What if I don’t have holiday-colored chocolate chips?
No worries — regular chocolate chips or chunks of your favorite candy bars work perfectly. You can also substitute with nuts, dried fruit, or even crushed candy canes for extra texture and flavor.
Why is the dough so thick?
The thickness comes from the cake mix base combined with melted butter and eggs. This consistency helps create bars that are chewy yet soft, rather than cakey or crumbly like a traditional cake.
Can I bake these bars in a different size pan?
You can, but keep in mind that baking times may vary. A smaller pan will give you thicker bars and require a longer bake, while a larger pan will yield thinner bars and less baking time. Keep an eye on them for that golden edge and set center.
How can I make the bars more festive?
Adding extra holiday sprinkles, using colorful candy melts for drizzling, or even layering with a frosting or glaze are great ways to jazz up these bars for special occasions and make them really stand out.
Final Thoughts
There is something so wonderfully joyful about the simplicity and charm of the Holiday Cake Mix Cookie Bars Recipe. It’s that perfect combination of festive colors, melty chocolate, and a tender crumb that makes these bars a holiday staple in my kitchen. Whether you’re baking them for a crowd or simply to satisfy a seasonal sweet craving, I promise these bars will bring smiles all around. Give them a try and let the festive fun begin!
Print
Holiday Cake Mix Cookie Bars Recipe
- Prep Time: 10 minutes
- Cook Time: 25 minutes
- Total Time: 35 minutes
- Yield: 20 bars
- Category: Dessert
- Method: Baking
- Cuisine: American
Description
These festive Holiday Cake Mix Cookie Bars are quick and easy to make, featuring a buttery cake mix base loaded with colorful holiday chocolate chips, white chocolate chips, and festive sprinkles. Perfect for holiday parties or a sweet seasonal treat, they bake into soft, chewy bars that everyone will love.
Ingredients
Base
- 1 box (15.25 oz) yellow or vanilla cake mix
- 1/2 cup unsalted butter, melted
- 2 large eggs
Mix-ins
- 1 cup holiday-colored chocolate chips or M&Ms
- 1/2 cup white chocolate chips (optional)
- 1/3 cup holiday sprinkles
Instructions
- Preheat Oven: Preheat your oven to 350°F (175°C). Prepare a 9×13-inch baking pan by lining it with parchment paper or greasing it well to prevent sticking.
- Mix Ingredients: In a large bowl, combine the yellow or vanilla cake mix, melted unsalted butter, and eggs. Stir until the dough is fully combined. The mixture will be thick but uniform.
- Add Mix-ins: Gently fold in the holiday-colored chocolate chips or M&Ms, white chocolate chips (if using), and holiday sprinkles to evenly distribute the festive elements throughout the dough.
- Press into Pan: Transfer the dough into the prepared baking pan. Use a spatula or your hands to spread and press the dough evenly across the pan’s surface for uniform thickness.
- Bake: Place the pan in the preheated oven and bake for 20 to 25 minutes. The bars are done when the edges become golden brown and the center is set but still soft.
- Cool and Cut: Remove the pan from the oven and allow the cookie bars to cool completely in the pan. Once cooled, use a sharp knife to cut into 20 bars for serving.
Notes
- You can substitute the holiday-colored chocolate chips with regular chocolate chips or chopped nuts for a different twist.
- Make sure not to overbake to keep the bars soft and chewy.
- For easier removal, chill the bars in the refrigerator after baking before cutting.
- Store the bars in an airtight container at room temperature for up to 5 days.