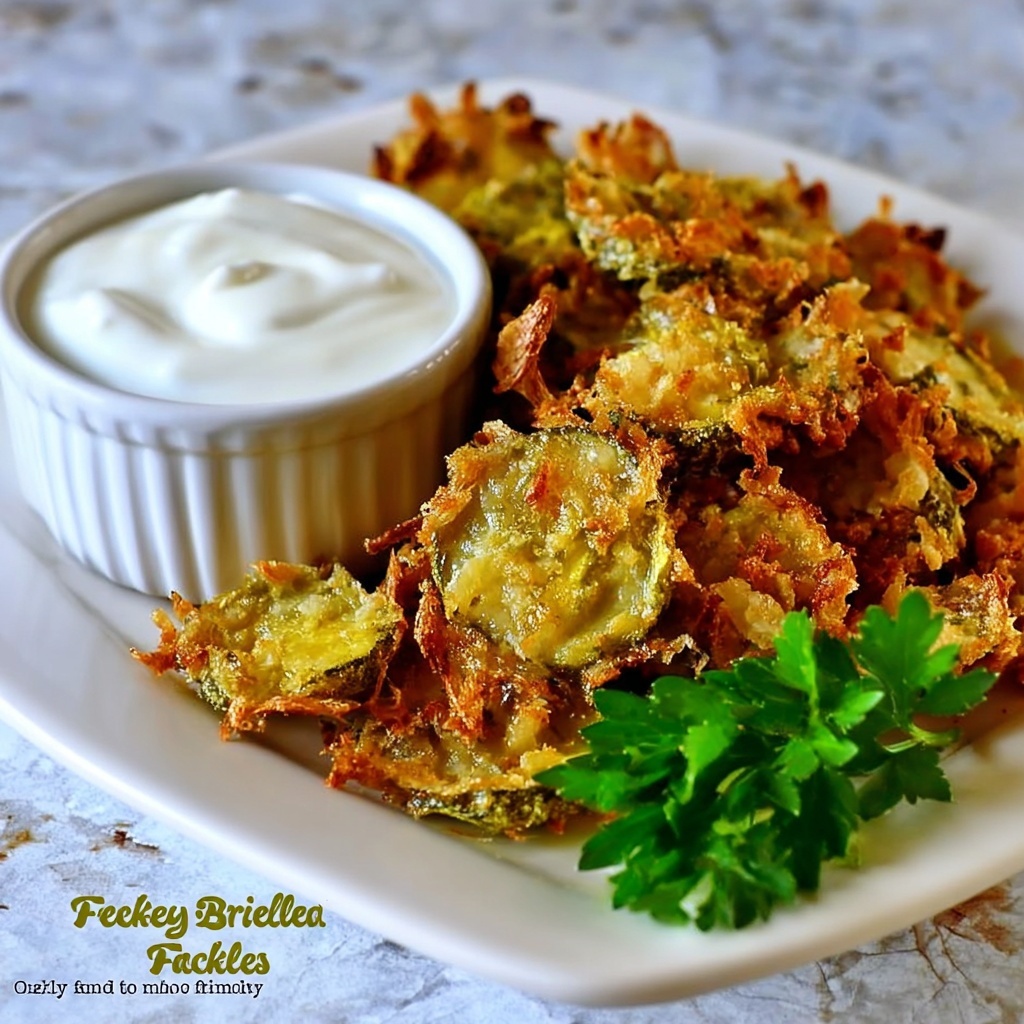
If you love the irresistible crunch of fried pickles but want a lighter, less oily version, then you have to try this Baked “Fried” Pickles Recipe. It’s like all the best parts of that classic Southern snack, but with a crispy, golden coating achieved in the oven instead of the fryer. Each bite offers that tangy pickle hit wrapped in a perfectly crunchy panko crust, making this dish a beloved appetizer or snack that’s quick to whip up and downright addictive. Trust me, once you make this recipe, your snack game will never be the same.
Ingredients You’ll Need
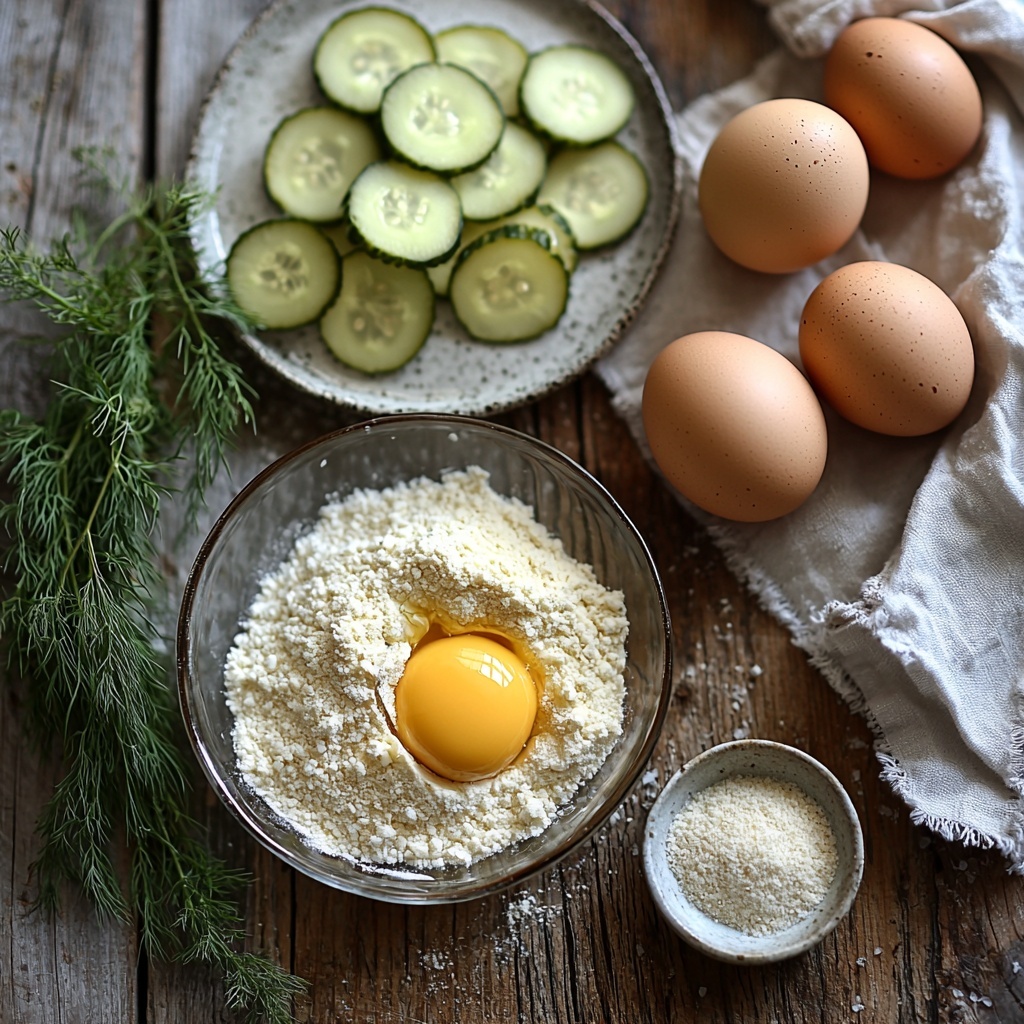
Gathering simple, everyday ingredients is what makes this Baked “Fried” Pickles Recipe so approachable. Every component is thoughtfully selected to balance flavor, texture, and golden color, guaranteeing a crunchy delight with just the right tang.
- 1 egg: Acts as the glue to bind the coating to the pickles and adds moisture to the batter.
- 1 tsp Worcestershire sauce: A splash of umami depth to elevate the flavor beyond simple seasoning.
- 3-4 tablespoons of flour: Helps create that paste-like batter so the coating sticks evenly to every slice.
- 1 teaspoon seasoning salt (I used Lawry’s): Seasoning is key for a flavorful crust that’s not bland.
- 1/2 teaspoon dill: Brings a fresh, herby brightness that complements the pickles perfectly.
- 1 1/2 cups Panko Japanese bread crumbs: Known for their light and airy crunch, they deliver the perfect crispy texture.
- 2-3 dill pickles (thinly sliced): The star of the show with tangy, juicy flavor and just the right thickness for coating.
How to Make Baked “Fried” Pickles Recipe
Step 1: Beat the egg
Start by cracking one egg into a shallow bowl and beat it with a fork until smooth. This simple step ensures your batter will be uniform and sticky enough to hold each pickle slice.
Step 2: Create the batter base
Add 3 to 4 tablespoons of flour to the beaten egg and mix until it becomes a paste-like consistency. This paste is key to trapping flavor on each pickle and helping the crumbs adhere nicely.
Step 3: Add the seasoning and Worcestershire sauce
Next, blend in 1 teaspoon of seasoning salt and 1/2 teaspoon of dill, along with 1 teaspoon of Worcestershire sauce. This combo creates a savory punch that elevates the pickles beyond ordinary.
Step 4: Coat the pickles
Drop your thinly sliced dill pickles into the batter and toss carefully to ensure every slice is evenly covered. This step sets up the perfect base for the crispy crust.
Step 5: Bread the pickles
Pour the panko crumbs into another shallow bowl. Working one at a time, dip each coated pickle slice into the crumbs, pressing gently so the crumbs stick well but the coating stays light and airy.
Step 6: Arrange on a rack for baking
Place the breaded pickles on a wire rack set over a cookie sheet to allow hot air to circulate around them, ensuring maximum crispiness as they bake.
Step 7: Broil until golden
Set your oven to broil at 500 degrees Fahrenheit and place the pickles under the heat for 4 to 6 minutes or until you see a beautiful golden color forming on the bottom side.
Step 8: Flip and broil the other side
Using tongs or a spatula, gently flip each pickle slice and return them to the oven for an additional 3 to 4 minutes to achieve that perfect, even crunch.
Step 9: Serve warm with your favorite dip
Keep an eye on them during broiling to prevent burning, then serve immediately while warm. A creamy ranch dip or your favorite dressing makes an ideal companion for dunking!
How to Serve Baked “Fried” Pickles Recipe
Garnishes
Sprinkle chopped fresh herbs like parsley or chives over the baked pickles for a burst of color and fresh aroma that balances the rich crunch. A light dusting of smoked paprika can add a subtle smoky vibe that’s delightful.
Side Dishes
Baked “Fried” Pickles Recipe pairs wonderfully with cool, crisp salads or even spicy grilled chicken for a fun snack or appetizer spread at any gathering. Their tang and texture provide a great contrast to creamy, leafy, or smoky sides.
Creative Ways to Present
For a casual party, present these on a rustic wooden board with small ramekins filled with ranch, spicy aioli, or honey mustard. For a playful twist, layer the pickles in mini slider buns with melted cheese and pickled onions – your guests will rave!
Make Ahead and Storage
Storing Leftovers
Store any leftover baked pickles in an airtight container in the refrigerator. They are best enjoyed within 1 to 2 days to maintain the crunchiness and freshness.
Freezing
While freezing is not recommended for maintaining the best texture, you can freeze the breaded, unbaked pickles arranged on a tray. Once frozen solid, transfer to a freezer bag for up to one month, then bake from frozen, adding a couple of extra minutes to the cooking time.
Reheating
To reheat leftovers, pop the baked pickles back into a hot oven or toaster oven at 375 degrees for 5 to 7 minutes. This method restores crispiness far better than microwaving, which can make them soggy.
FAQs
Are baked “fried” pickles healthier than traditional fried pickles?
Yes, baking instead of frying significantly reduces oil usage and calories, making baked “fried” pickles a lighter, less greasy alternative without sacrificing the signature crunch and flavor.
Can I use different pickles for this recipe?
Absolutely! While dill pickles are the classic choice here, you can experiment with sweet pickles or spicy pickles to vary flavor. Just be mindful of the slice thickness and moisture content.
What if I don’t have Worcestershire sauce?
If you’re out of Worcestershire sauce, a splash of soy sauce or a bit of vinegar can add a similar tangy, umami depth. The flavor won’t be exactly the same but will still be delicious.
Can I make these gluten-free?
Yes, simply swap the regular flour and panko crumbs for gluten-free versions. Many stores carry gluten-free panko crumbs that work beautifully for coating, keeping the crunch intact.
What dips go best with Baked “Fried” Pickles Recipe?
Classic ranch dressing is a crowd favorite, but you can also try spicy sriracha mayo, garlic aioli, or a cool cucumber tzatziki for exciting dipping options that complement the tangy pickles perfectly.
Final Thoughts
This Baked “Fried” Pickles Recipe is such a game-changer, bringing that addictive crispy pickle flavor in a lighter, less messy form. Whether you’re craving a snack, appetizer, or party treat, it’s an easy recipe to impress with minimal fuss. I encourage you to give it a try – your taste buds and friends will thank you for this crunchy, tangy delight!
Print
Baked “Fried” Pickles Recipe
- Prep Time: 15 minutes
- Cook Time: 15 minutes
- Total Time: 30 minutes
- Yield: 2 to 3 servings
- Category: Appetizer
- Method: Baking
- Cuisine: American
- Diet: Vegetarian
Description
Enjoy a healthier twist on the classic fried pickles with this baked version that delivers all the crispy, crunchy goodness without the deep frying. These baked “fried” pickles are coated in a flavorful seasoned batter, covered in crunchy Panko breadcrumbs, and broiled to golden perfection. Perfect as a snack or appetizer, they’re best served warm with your favorite creamy dip like ranch.
Ingredients
Batter and Coating
- 1 egg
- 1 tsp Worcestershire sauce
- 3–4 Tablespoons of flour
- 1 teaspoon seasoning salt (Lawry’s recommended)
- 1/2 teaspoon dill
- 1 1/2 cups Panko Japanese bread crumbs
Main
- 2–3 dill pickles, thinly sliced
Instructions
- Prepare the Batter: In a shallow bowl, crack and beat 1 egg thoroughly using a fork to combine.
- Add Flour: Mix in 3 to 4 tablespoons of flour until the mixture reaches a paste-like consistency, ensuring no lumps remain.
- Add Flavorings: Stir in 1 teaspoon Worcestershire sauce, 1 teaspoon seasoning salt, and 1/2 teaspoon dill. Mix well to evenly distribute flavors.
- Coat the Pickles: Add thinly sliced dill pickles into the batter mixture and toss to coat them thoroughly and evenly.
- Prepare Breadcrumb Tray: Pour 1 1/2 cups Panko bread crumbs into a separate shallow bowl.
- Bread the Pickles: One at a time, remove each pickle slice from the batter and dredge it thoroughly in the Panko crumbs, coating it evenly on all sides.
- Arrange on Rack: Lay the breaded pickles in a single layer on a wire rack placed over a cookie sheet to allow even air circulation during cooking.
- Broil for First Side: Place the tray under the oven broiler set to 500°F (260°C) and cook for 4-6 minutes or until the pickles start turning golden brown. Watch carefully to avoid burning.
- Flip and Broil Second Side: Carefully flip each pickle slice and broil for an additional 3-4 minutes until the other side is golden and crispy.
- Serve: Remove from oven and serve warm, optionally with ranch dressing or your favorite creamy dip for dipping.
Notes
- Thinly slicing the pickles ensures they crisp up nicely under the broiler.
- Using a wire rack on a cookie sheet allows air to circulate around the pickles, promoting even crisping.
- Keep a close eye on the pickles while broiling as the high heat can cause them to burn easily.
- Adjust seasoning salt amount to your taste preference or dietary needs.
- For extra flavor, try adding a pinch of garlic powder or paprika to the batter.
