
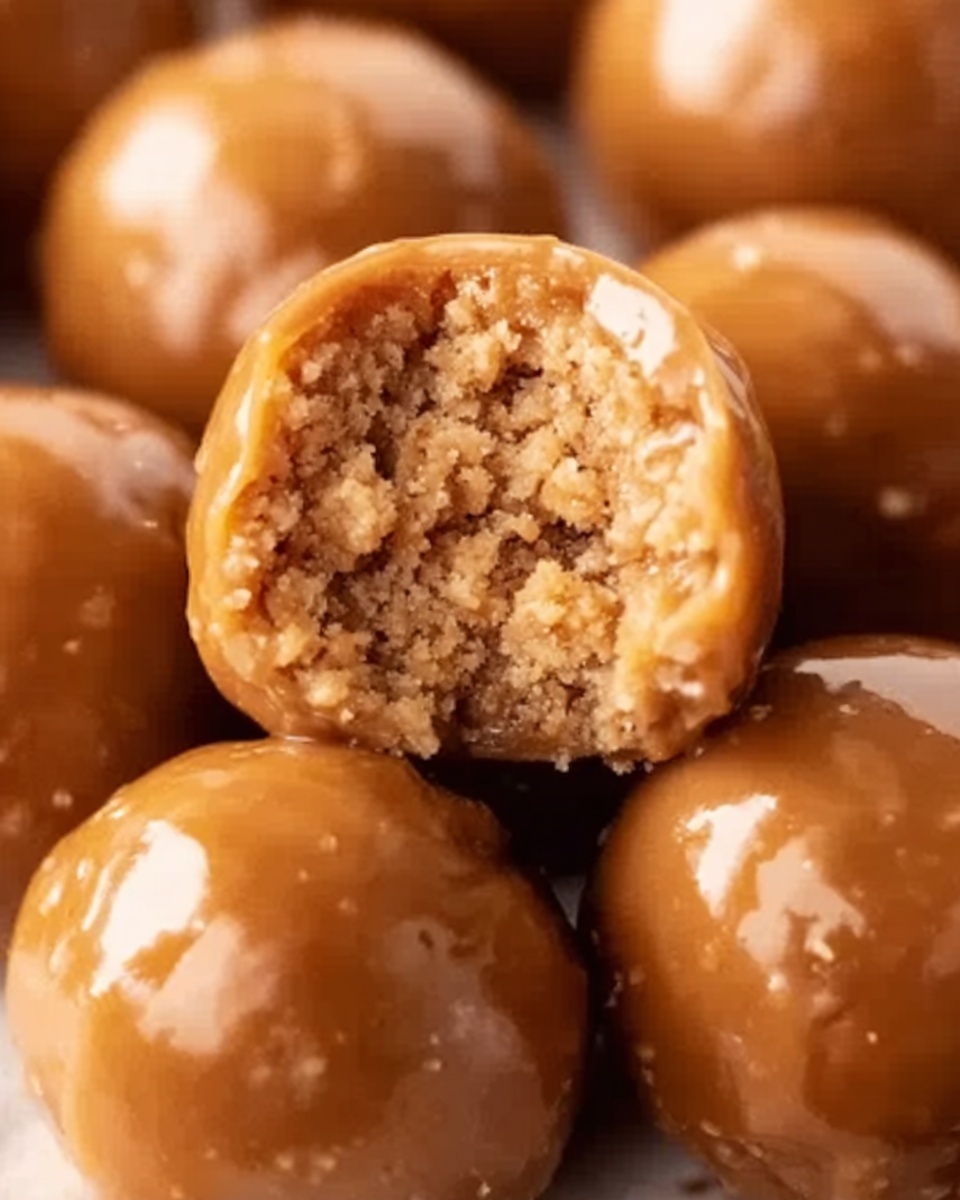
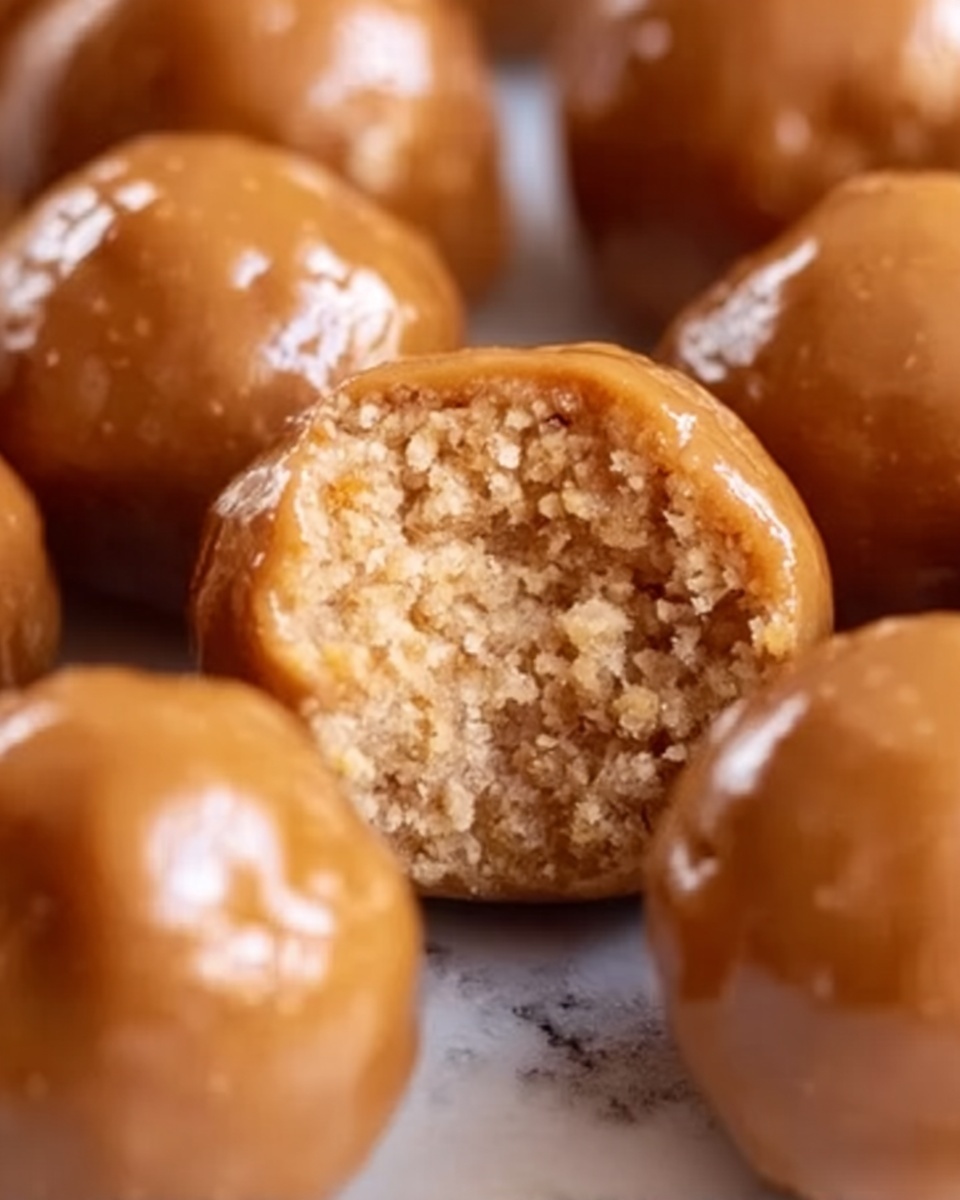
If you have a sweet tooth that craves a nostalgic crunch paired with creamy, melt-in-your-mouth goodness, then you are in for a real treat with this Butterfinger Balls Recipe. These delightful little bites combine the irresistible crispiness of crushed Butterfinger candy bars with rich peanut butter and a smooth chocolate coating, making every bite a perfect balance of texture and flavor. They’re easy to make, wonderfully indulgent, and absolutely perfect for sharing (or not!). Whether you’re looking for a show-stopping party treat or a cozy homemade snack, this Butterfinger Balls Recipe will quickly become a favorite in your dessert rotation.
Ingredients You’ll Need
Gathering the right ingredients is the secret to bringing out the best taste and texture in your Butterfinger Balls. Each component is simple yet essential, creating that perfect harmony of crunchy, creamy, and sweet you’ll love.
- Butterfinger candy bars (2 cups crushed): Provides the signature crunchy and peanut buttery flavor that defines the dish.
- Cream cheese (8 oz., softened): Adds creamy richness and helps bind the mixture together.
- Semi-sweet chocolate chips (2 cups): For coating the balls with a luscious, smooth chocolate shell.
- Vegetable shortening (1 tablespoon, optional): Makes the chocolate coating silkier and easier to dip.
- Powdered sugar (1 cup): Sweetens the mixture evenly and helps with the texture.
- Graham cracker crumbs (1 cup): Adds a subtle depth of flavor and sturdy texture to the base.
- Melted butter (1/2 cup): Brings a moist richness that enhances flavor melding.
- Peanut butter (1 cup): Boosts the classic nutty taste and creamy consistency.
- Additional crushed Butterfinger pieces: Perfect for decorating and adding an extra crunch on top.
- Chocolate sprinkles: Optional, but a fun way to add color and finesse to your final presentation.
How to Make Butterfinger Balls Recipe
Step 1: Prepare the Mixture
Begin by combining the powdered sugar, graham cracker crumbs, and crushed Butterfinger candy pieces along with the melted butter and peanut butter in a large bowl. Mix thoroughly until all the ingredients come together into a cohesive, slightly sticky mixture. This is where all the flavors start to marry each other and create that irresistible base.
Step 2: Form the Balls
Once the mixture is ready, roll it into 1-inch balls using your hands. The size ensures each bite is perfectly snackable and easy to enjoy. Place the formed balls on a baking sheet lined with parchment paper to keep things clean and make transferring easier.
Step 3: Chill the Balls
Now pop the baking sheet into the refrigerator for about 30 minutes. Chilling firms up the balls, making them easier to handle when you dip them in chocolate, and ensures a nice texture once finished.
Step 4: Melt the Chocolate
While the balls chill, melt your semi-sweet chocolate chips in a microwave-safe bowl. For an ultra-smooth consistency that lends itself beautifully to dipping, add the optional vegetable shortening. Heat the chocolate in 30-second increments, stirring well between each until it’s fully melted and luxuriously smooth.
Step 5: Dip the Balls
Retrieve your chilled balls and, with the help of a fork or dipping tool, dunk each one into the melted chocolate. Make sure the balls are completely coated to achieve that rich outer shell that’s both shiny and irresistible. Let any excess chocolate drip off before setting them back on the parchment-lined tray.
Step 6: Set and Decorate
Before the chocolate sets, quickly sprinkle additional crushed Butterfinger pieces or chocolate sprinkles over the top for extra texture and pizzazz. These toppings not only add visual appeal but introduce a delightful crunch and a hint of fun.
Step 7: Allow to Set
Let your Butterfinger balls sit at room temperature for the chocolate to harden naturally, or refrigerate them for about 15 minutes if you want to speed up the process. Once set, your buttery, peanutty, chocolaty bites are ready to be enjoyed!
How to Serve Butterfinger Balls Recipe
Garnishes
Decorating your Butterfinger Balls with extra crushed Butterfinger pieces or chocolate sprinkles adds that perfect finishing touch and invites curiosity. You can even try a light dusting of cocoa powder or a drizzle of white chocolate for a bit of contrast and flair. These small details elevate the look and appeal of your treats.
Side Dishes
These balls are perfect on their own but pair wonderfully with a cold glass of milk or a scoop of vanilla ice cream for an indulgent dessert experience. For parties, consider serving them alongside fresh fruit skewers or a platter of assorted nuts to balance the sweetness with a bit of freshness and crunch.
Creative Ways to Present
For a festive vibe, arrange your Butterfinger Balls recipe on a decorative platter lined with colorful parchment paper or place them inside mini cupcake liners for easy serving. You can also customize the toppings seasonally—maybe crushed peppermint for winter or rainbow sprinkles for celebrations—to match the occasion.
Make Ahead and Storage
Storing Leftovers
If you find yourself with leftovers, store them in an airtight container in the refrigerator to keep their firmness and flavor intact. They’ll stay delicious for up to a week, making them a perfect make-ahead treat for busy days or unexpected guests.
Freezing
Butterfinger Balls freeze beautifully! Place them in a single layer on a parchment-lined tray, freeze until solid, then transfer to a freezer-safe container or bag. They can be stored for up to three months and make a great anytime snack straight from the freezer—just allow them to thaw slightly before enjoying.
Reheating
These treats are best enjoyed chilled or at room temperature, so reheating isn’t necessary. If you want to soften them a bit, just leave them out for about 10 minutes at room temperature, and they’ll be perfect to eat without compromising their texture.
FAQs
Can I use regular Butterfinger bars instead of fun-sized?
Absolutely! Just crush the regular-sized Butterfinger bars until you have about 2 cups of crushed pieces. The crush size can affect texture slightly, so aim for a consistent small crumble for the best results.
Is it necessary to use cream cheese in the recipe?
Cream cheese contributes a subtle tang and adds creaminess that helps bind the mixture. If you want to experiment, you could try substituting with mascarpone or softened butter, but cream cheese is highly recommended for the authentic texture and flavor.
Can I make these dairy-free or vegan?
Yes! Substitute the cream cheese with a vegan variety, use dairy-free chocolate chips, and swap the butter for a plant-based alternative. Just be mindful that the texture may vary slightly, but the recipe is quite adaptable for different diets.
What’s the purpose of vegetable shortening in the chocolate coating?
Vegetable shortening helps thin the melted chocolate and gives it a shiny, smooth finish that’s easier for dipping. It is optional but highly recommended for best coating results and a professional look.
How long do Butterfinger Balls last once made?
Stored properly in the refrigerator, they last about a week, making them great to prepare ahead of time. They also freeze well, so you can keep them longer if needed.
Final Thoughts
There’s something truly special about biting into these rich and crunchy Butterfinger Balls Recipe that feels like a warm hug from the inside. They’re simple to make, fun to customize, and perfect for sharing with friends or keeping all to yourself. So why not treat yourself to a batch today? You won’t regret having this deliciously nostalgic dessert waiting for you.
Print
Butterfinger Balls Recipe
- Prep Time: 15 minutes
- Cook Time: 0 minutes
- Total Time: 45 minutes
- Yield: 24 servings
- Category: Dessert
- Method: No-Cook
- Cuisine: American
Description
Delightful no-bake Butterfinger Balls made with crushed Butterfinger candy bars, creamy peanut butter, and a rich chocolate coating. These bite-sized treats are perfect for parties, holidays, or anytime you crave a sweet, crunchy indulgence.
Ingredients
Mixture Ingredients
- 2 cups crushed Butterfinger candy bars (approximately 16 fun-sized bars)
- 1 cup powdered sugar
- 1 cup graham cracker crumbs
- 1/2 cup melted butter
- 1 cup peanut butter
Dipping Ingredients
- 2 cups semi-sweet chocolate chips
- 1 tablespoon vegetable shortening (optional, for smoother dipping)
Decoration
- Additional crushed Butterfinger pieces
- Chocolate sprinkles
Instructions
- Prepare the Mixture: In a large bowl, combine the powdered sugar, graham cracker crumbs, crushed Butterfinger pieces, melted butter, and peanut butter. Mix thoroughly until all ingredients are well incorporated into a uniform mixture.
- Form the Balls: Shape the mixture into 1-inch diameter balls using your hands or a small scoop, then place them on a parchment-lined baking sheet evenly spaced apart.
- Chill: Refrigerate the balls for 30 minutes to firm up the mixture, which makes them easier to dip without falling apart.
- Melt the Chocolate: In a microwave-safe bowl, melt the semi-sweet chocolate chips by microwaving in 30-second intervals, stirring in between each interval. If desired, add the tablespoon of vegetable shortening to the chocolate to achieve a smoother and shinier consistency.
- Dip the Balls: Remove the chilled balls from the refrigerator. Using a fork or dipping tool, fully coat each ball in the melted chocolate, allowing excess chocolate to drip off before placing it back onto the parchment-lined baking sheet.
- Set and Decorate: While the chocolate is still wet, sprinkle additional crushed Butterfinger pieces or chocolate sprinkles on top for extra texture and decoration.
- Allow to Set: Let the dipped balls sit at room temperature until the chocolate has fully hardened. To speed up this process, refrigerate the balls for about 15 minutes until set.
Notes
- Use fun-sized Butterfinger bars for easy crushing and consistent texture.
- Vegetable shortening is optional but helps create a smoother, shinier chocolate coating.
- Store the finished Butterfinger Balls in an airtight container in the refrigerator to keep fresh.
- For best results, consume within a week.
- Handle the balls gently while dipping to prevent breaking.


