“`html
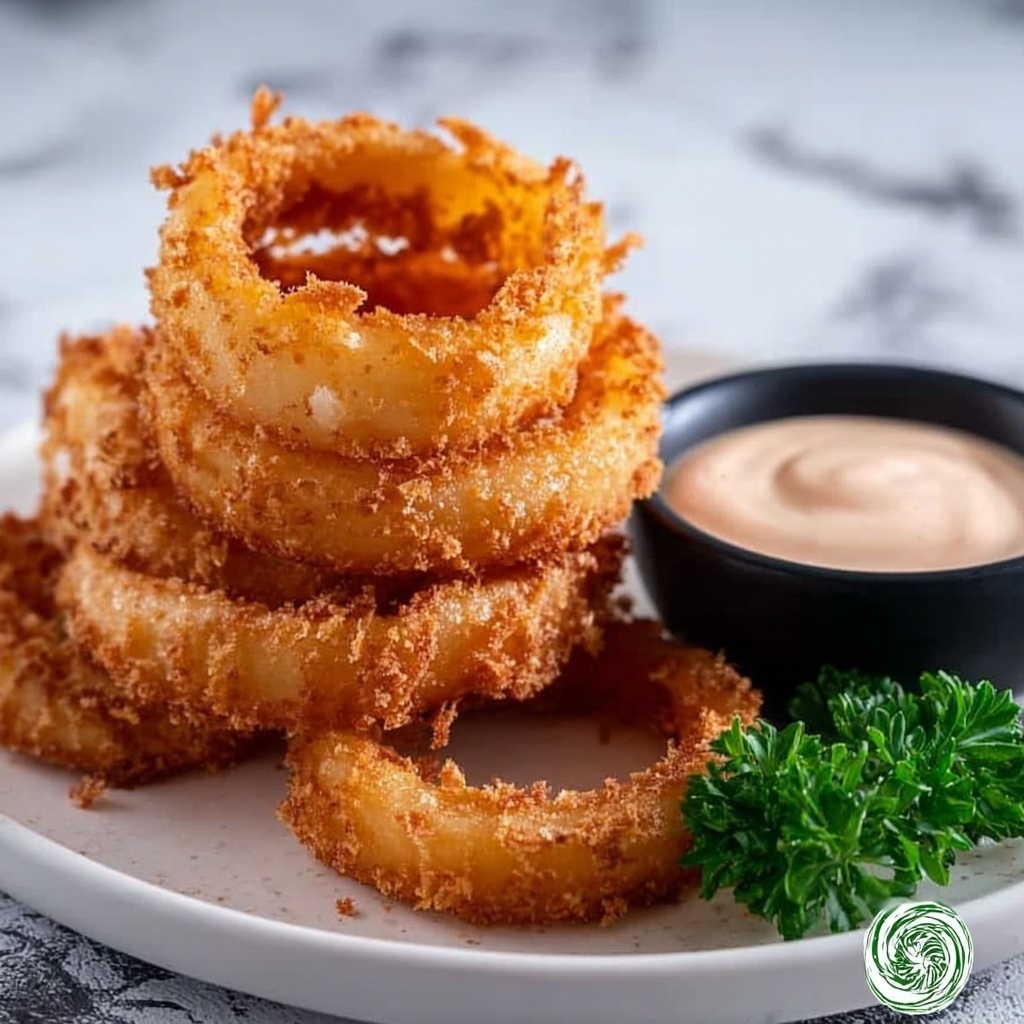
If you have a craving for something irresistibly crunchy, golden, and downright delicious, look no further than this Homemade Crispy Onion Rings Recipe. These onion rings are the perfect combination of sweet onion slices enveloped in a seasoned, crunchy coating that stays crispy bite after bite. Whether you’re preparing a snack for game day or a tasty side for dinner, these rings promise to impress with their light yet satisfyingly crispy texture and that addictive flavor you just can’t get enough of.
Ingredients You’ll Need
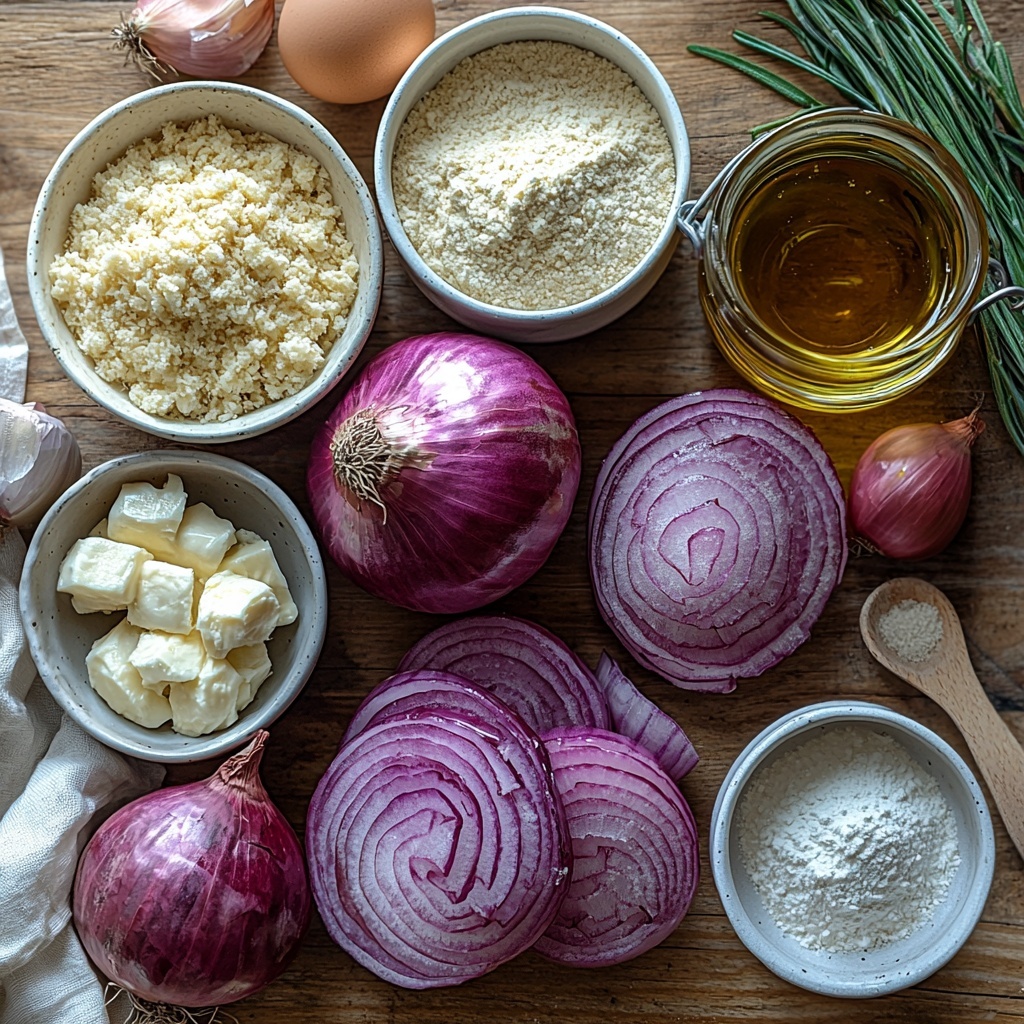
Gathering the right ingredients is the first step to homemade perfection, and for this recipe, simplicity reigns. Each ingredient has been chosen to build layers of flavor and texture, from the natural sweetness of the onions to the crispy crunch of panko breadcrumbs.
- 2 large sweet onions: The star of the dish, their natural sweetness balances the savory coating perfectly.
- 1 cup all-purpose flour: Provides a sturdy base for the batter and helps the coating stick.
- 1/2 cup cornstarch: Adds extra crispiness to the crust, making every bite satisfyingly crunchy.
- 1 teaspoon baking powder: Adds lightness to the batter, helping it puff up beautifully.
- 1 teaspoon salt: Essential seasoning that enhances all the flavors.
- 1/2 teaspoon black pepper: Adds just a subtle hint of heat and depth.
- 1/2 teaspoon paprika: Brings smoky warmth and a beautiful color to the coating.
- 1/2 teaspoon garlic powder: Offers a flavorful savory note without overpowering the onion.
- 3/4 cup buttermilk (or 3/4 cup milk + 2 teaspoons vinegar or lemon juice): Tenderizes the onions and helps the batter cling perfectly.
- 1 large egg: Binds everything together for a rich, golden finish.
- 1 1/2 cups panko breadcrumbs (or regular breadcrumbs): The secret to that signature crispy crust with extra crunch.
- Oil for frying (canola, vegetable, or peanut): Neutral oils that handle high heat well, ensuring crisp frying.
How to Make Homemade Crispy Onion Rings Recipe
Step 1: Prepare the Onion Rings
Start by peeling your large sweet onions and slicing them into 1/2-inch thick rings. Separate the rings carefully, and toss out the tiny inner circles that just won’t hold onto the batter and might get soggy. This step is all about making sure each ring you fry has that perfect shape and size to turn beautifully crispy.
Step 2: Soak the Onion Rings in Buttermilk
Next, soak those onion rings in buttermilk for at least 30 minutes. The buttermilk doesn’t just add a subtle tang—it softens the onion slightly and helps the flour-based batter stick like a dream. If you don’t have buttermilk on hand, a mix of milk and lemon juice or vinegar works just as well.
Step 3: Prepare the Breading Stations
Set up three bowls to streamline your breading process. In the first bowl, mix the flour, cornstarch, baking powder, salt, pepper, paprika, and garlic powder. This seasoned dry mix will give depth and crunch to each ring. The second bowl should hold the beaten egg mixed with a splash of buttermilk to keep it silky and adhesive. The third bowl is filled with panko breadcrumbs, which give the onion rings their signature crispy coating.
Step 4: Coat the Onion Rings
Dip each onion ring first into the flour mixture, making sure it’s fully covered. Then move to the egg wash, coating evenly, and finally dip into the panko breadcrumbs for that crave-worthy crunch. For an extra crispy onion ring, repeat the egg and breadcrumb steps once more—trust me, it’s worth the effort.
Step 5: Heat the Oil
Pour 2 to 3 inches of your selected frying oil into a heavy pot, such as a Dutch oven, and heat it until it reaches 350°F (175°C). The right temperature is critical here because too cool and the rings will absorb oil; too hot and they’ll burn without cooking through.
Step 6: Fry the Onion Rings
Fry your onion rings in batches to avoid overcrowding, which can drop the oil temperature and lead to soggy results. Let each side cook for 2 to 3 minutes until they turn a gorgeous golden brown. Keep a close eye to ensure you achieve the perfect crispy texture without overcooking.
Step 7: Drain and Serve Hot
Once fried, use a slotted spoon to transfer the onion rings to paper towels to drain excess oil. These rings are best served immediately, still hot and crunchy, paired with your favorite dipping sauce for maximum flavor enjoyment.
How to Serve Homemade Crispy Onion Rings Recipe
Garnishes
Sprinkle a little fresh chopped parsley or chives for a fresh pop of color and mild herbal flavor. A light dusting of smoked paprika on top can also elevate their smoky notes before serving.
Side Dishes
Homemade crispy onion rings go wonderfully with classic burgers, grilled chicken, or even alongside sandwiches for a fun crunch factor. Try pairing them with a cool coleslaw or a tangy pickle salad to balance the richness perfectly.
Creative Ways to Present
For a fun twist, serve your onion rings stacked in a tall, rustic mason jar or arranged artfully on a slate board with various dipping sauces like spicy aioli, tangy ketchup, or honey mustard. Presentation really takes this snack from simple to spectacular, especially when entertaining guests.
Make Ahead and Storage
Storing Leftovers
If you have leftovers, store them in a single layer on a paper towel-lined plate or container, loosely covered to keep them from getting soggy. They’re best eaten within a day to enjoy that crispness at its peak.
Freezing
While homemade crispy onion rings are best fresh, you can freeze them after baking or frying. Place cooled rings on a baking sheet in a single layer, freeze until solid, then transfer to a freezer-safe bag. This prevents sticking and lets you take out exactly how many you need.
Reheating
To bring leftover or frozen onion rings back to life, avoid the microwave which makes them soggy. Instead, reheat them in a preheated oven at 375°F (190°C) or in an air fryer for 5 to 7 minutes until they regain their crunch.
FAQs
Can I use regular onions instead of sweet onions?
Absolutely! Sweet onions are preferred for their mild, subtly sweet flavor, but yellow or white onions work well too. They may offer a bit more pungency, adding a sharper bite to your rings.
Is there a healthier way to cook these onion rings?
Yes! Instead of deep-frying, you can bake or air fry your homemade crispy onion rings. While the texture will be slightly less indulgent, using an air fryer will still give you a satisfying crunch with less oil.
Can I make the batter ahead of time?
It’s best to prepare the batter fresh before frying for optimal consistency. However, you can mix the dry ingredients in advance and store them airtight, making the assembly quicker on the day you make the onion rings.
What’s the secret to extra crispy onion rings?
Using panko breadcrumbs and coating the onion rings twice with egg wash and breadcrumbs gives an outstanding crispy texture. Also, maintaining the oil temperature at around 350°F ensures the coating crisps up perfectly without being greasy.
What dips pair best with homemade onion rings?
Classic dips include ketchup, ranch dressing, spicy mayo, honey mustard, or even a creamy blue cheese dip. Feel free to experiment with your favorite sauces to find your match made in heaven.
Final Thoughts
Sharing this Homemade Crispy Onion Rings Recipe has been such a joy because these rings are truly a crowd-pleaser, perfect for any occasion that calls for a crunchy, flavorful treat. Once you try making them yourself, you’ll see how easy it is to create that perfect golden crust with a tender onion center right at home. So grab your onions and let’s get frying—you’re about to create some seriously delicious memories.
“`
Print
Homemade Crispy Onion Rings Recipe
- Prep Time: 20 minutes
- Cook Time: 15 minutes
- Total Time: 35 minutes
- Yield: 4 to 4.4 servings
- Category: Appetizer
- Method: Frying
- Cuisine: American
Description
Crispy, golden homemade onion rings made with a crunchy panko breadcrumb coating and a flavorful buttermilk batter. These classic fried onion rings are perfect as a snack, side dish, or appetizer and are delicious served hot with your favorite dipping sauce.
Ingredients
Onions
- 2 large sweet onions
Batter and Coating
- 1 cup all-purpose flour
- 1/2 cup cornstarch
- 1 teaspoon baking powder
- 1 teaspoon salt
- 1/2 teaspoon black pepper
- 1/2 teaspoon paprika
- 1/2 teaspoon garlic powder
- 3/4 cup buttermilk (or 3/4 cup milk + 2 teaspoons vinegar or lemon juice)
- 1 large egg
- 1 1/2 cups panko breadcrumbs (or regular breadcrumbs)
Frying Oil
- Oil for frying (canola, vegetable, or peanut oil), enough to fill 2 to 3 inches in a pot
Instructions
- Slice Onions: Peel the onions and slice them into 1/2-inch thick rings. Separate the rings carefully and discard the tiny inner rings that are too small for frying.
- Soak in Buttermilk: Place the onion rings in buttermilk and soak for at least 30 minutes. This softens the onions and helps the batter stick better.
- Prepare Coating Bowls: Set up three separate bowls: the first containing the dry flour mixture (flour, cornstarch, baking powder, salt, black pepper, paprika, garlic powder), the second with the beaten egg mixed with a splash of buttermilk, and the third with panko breadcrumbs.
- Coat Onion Rings: Dip each onion ring first in the flour mixture, then into the egg wash, followed by the breadcrumbs. For extra crunchiness, repeat dipping in egg wash and breadcrumbs once more.
- Heat Oil: Heat 2 to 3 inches of your chosen frying oil in a heavy-bottomed pot until it reaches 350°F (175°C). Use a thermometer to ensure accurate temperature.
- Fry Onion Rings: Fry the onion rings in batches, taking care not to overcrowd the pot. Cook each batch for 2 to 3 minutes per side until they achieve a golden brown color and crisp texture.
- Drain and Serve: Use a slotted spoon to remove the rings and place them on paper towels to drain excess oil. Serve immediately while hot with your favorite dipping sauce.
Notes
- Using buttermilk or milk with vinegar/lemon juice helps tenderize the onions and adds subtle tang to the batter.
- Double coating with egg wash and breadcrumbs creates an extra crispy texture.
- Maintaining oil temperature at 350°F is crucial for even frying and to prevent greasy onion rings.
- Can substitute panko with regular breadcrumbs although panko yields a lighter crunch.
- Drain onion rings thoroughly on paper towels to remove excess oil and keep them crispy.
- These onion rings are best enjoyed fresh but can be kept warm in a low oven for a short time before serving.