
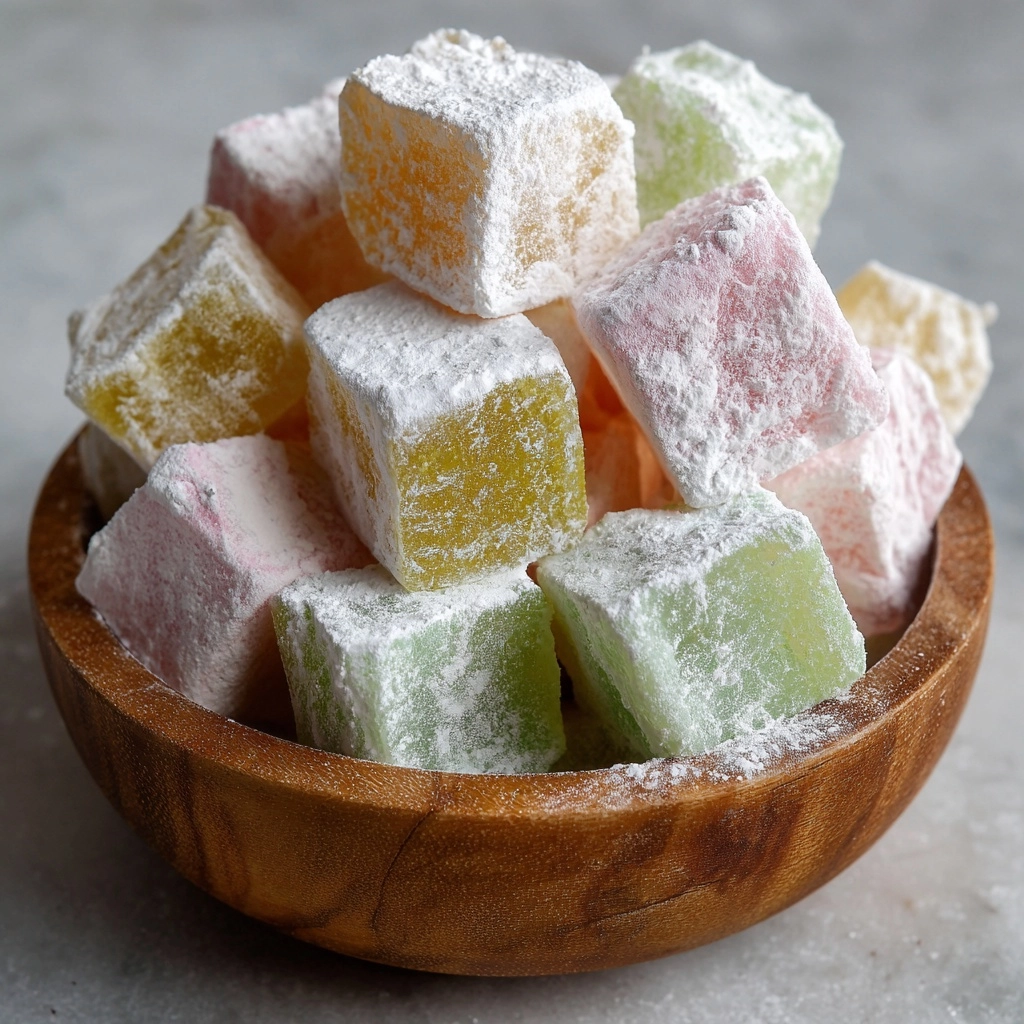
If you’ve never experienced the pillowy sweetness of homemade Melt-in-Your-Mouth Butter Mints, you’re in for a real treat! These pastel-hued morsels are unbelievably creamy and refreshing, melting instantly as soon as they touch your tongue. They make every gathering feel just a bit more special, from holiday spreads to baby showers and everything in between. Plus, crafting them at home couldn’t be simpler, making it the perfect project for both beginners and anyone looking to add a nostalgic, personal touch to their celebrations.
Ingredients You’ll Need
This recipe shines thanks to a handful of classic ingredients. Each component brings its own magic, whether it’s the richness of the butter or the vibrant burst of minty freshness. Here’s what you’ll need and why every ingredient has its place in these delightfully soft mints:
- Unsalted Butter (1/2 cup, softened): The secret to that luxurious, melt-in-your-mouth texture. Be sure it’s at room temperature for easy blending.
- Salt (1/4 teaspoon): Just a pinch balances all the sweetness and brightens the flavor so each bite pops.
- Powdered Sugar (4 cups): It’s what gives these candies their signature satiny smoothness and delicate structure.
- Heavy Cream (1 tablespoon): Adds a creamy richness and helps bring the dough together without making it sticky.
- Peppermint Extract (1/2 teaspoon): For that classic, clean minty finish you crave in every bite.
- Food Coloring (optional): If you’re feeling festive, add a few drops for a splash of pretty pastel color. Gel food coloring works best for vibrancy and consistency.
- Extra Powdered Sugar (for dusting): Prevents sticking when rolling and helps achieve those perfect mint pillows.
How to Make Melt-in-Your-Mouth Butter Mints
Step 1: Cream the Butter and Salt
Start by beating the softened unsalted butter and salt together in a large bowl until the mixture is light, fluffy, and silky-smooth. This step creates the luxurious base for your mints, so take your time and mix until no lumps remain. The better you cream these ingredients, the silkier the finished butter mints will be!
Step 2: Gradually Add Powdered Sugar
With your mixer on low (to avoid a sugar cloud), add the powdered sugar one cup at a time. Let each addition fully incorporate before adding more. By being patient here, you’ll notice the dough turning wonderfully pliable and smooth—exactly what you want for shaping these mints later on.
Step 3: Mix in Cream and Peppermint Extract
Pour in the heavy cream and peppermint extract, then beat again until everything is fully blended. You’ll notice the dough really coming together at this stage, turning almost like a thick frosting. The aroma of fresh mint will fill your kitchen and may just have you sneaking a taste!
Step 4: Add Food Coloring (Optional)
If you want to add some color to your Melt-in-Your-Mouth Butter Mints, now’s the time. Divide the dough as needed for different colors. Add a drop or two of gel food coloring and knead until the color is evenly distributed. Go gentle—a little goes a long way, and mixing ensures a soft, lovely tint.
Step 5: Roll and Shape the Mints
Dust a clean surface with powdered sugar to prevent sticking. Scoop out a portion of dough and roll it into a rope about ½ inch thick. Use a sharp knife or bench scraper to cut the rope into small, pillow-shaped pieces, each about ½ inch long. Continue with remaining dough, dusting as needed for easy handling.
Step 6: Air Dry Your Mints
Arrange the shaped mints in a single layer on a parchment-lined tray. Let them air dry at room temperature for at least 12 hours, or until they’re firm to the touch. This step is crucial; the air-drying transforms them from soft dough into those irresistibly tender morsels everyone loves.
How to Serve Melt-in-Your-Mouth Butter Mints
Garnishes
For a charming finish, you can sprinkle your Melt-in-Your-Mouth Butter Mints with a light dusting of powdered sugar just before serving. Alternatively, a touch of edible glitter or sanding sugar adds sparkle, making each mint look like a tiny gem on your dessert table.
Side Dishes
These mints are the perfect after-dinner treat, so they pair beautifully with coffee, tea, or rich desserts like chocolate cake or cheesecake. You could also set them alongside a fruit platter for a refreshingly cool bite between courses.
Creative Ways to Present
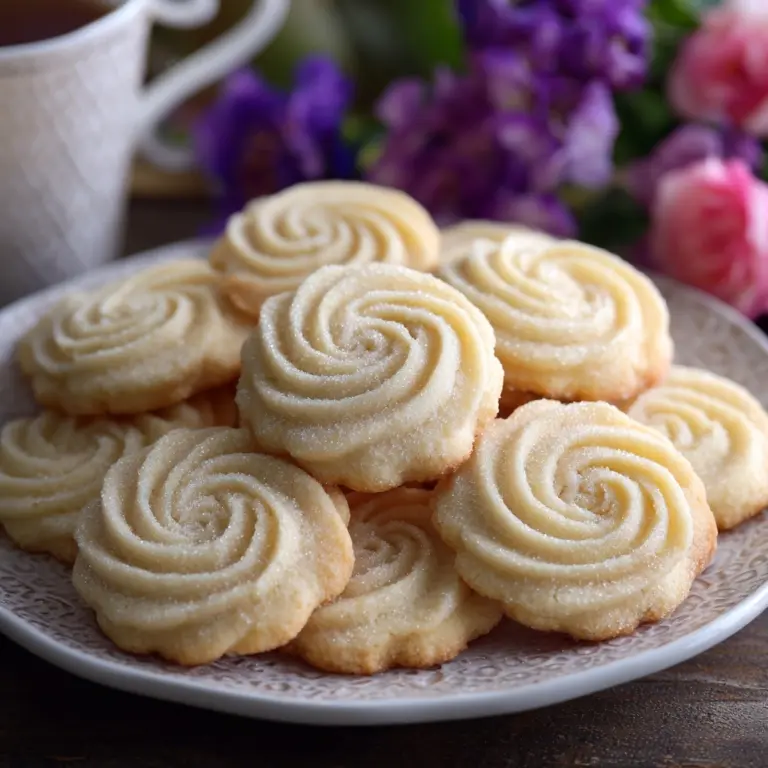
Presentation makes all the difference! Pile them into vintage candy dishes for a touch of old-school charm, tuck a handful into cello bags tied with ribbon for party favors, or scatter them on a dessert tray at your next gathering. These mints instantly transform any celebration into a memorable occasion.
Make Ahead and Storage
Storing Leftovers
Place your Melt-in-Your-Mouth Butter Mints in an airtight container at room temperature. They’ll keep beautifully for up to two weeks. For best results, separate layers with parchment paper to prevent sticking and preserve their perfect pillow shape.
Freezing
If you’re planning ahead or want to make a big batch, these mints freeze wonderfully. Arrange fully dried mints in a single layer in a freezer-safe container, separating layers with parchment or wax paper. Freeze for up to 2 months, and thaw at room temperature before serving—no need to re-dry.
Reheating
The beauty of Melt-in-Your-Mouth Butter Mints is that there’s no need for reheating! Simply bring them to room temperature out of storage or the freezer, and they’ll be ready to melt away with each bite, just as dreamy as when you first made them.
FAQs
Can I use a different extract instead of peppermint?
Absolutely! While peppermint brings that classic flavor, feel free to get creative with other extracts like lemon, almond, vanilla, or even orange. Just start with a small amount and adjust to taste, as some extracts are much stronger than others.
Do I have to use food coloring?
Not at all! The mints are just as delicious in pure white, but adding a little color can be a fun way to coordinate with holidays or party themes. If you do choose to use food coloring, opt for gel over liquid to keep the dough pliable and prevent it from getting too sticky.
How long do the mints need to dry?
The minimum is 12 hours, but you can let them go a little longer for a firmer bite. Humidity may affect drying time, so if your kitchen is a bit damp, 18-24 hours may be ideal. The mints should feel firm and not tacky before storing.
What’s the best way to shape these?
Rolling into ropes and cutting into pillows is classic, but you can get playful with small cookie cutters, piping the dough, or hand-forming into flowers or little shapes for a custom look. Just remember to keep them small so they melt easily.
Are Melt-in-Your-Mouth Butter Mints gluten-free?
Yes! This recipe is naturally gluten-free, as it uses no wheat or flour—so it’s perfect for serving to friends and family with gluten sensitivities.
Final Thoughts
There’s something timeless and joyful about making a batch of Melt-in-Your-Mouth Butter Mints from scratch. Whether you’re sharing them with loved ones or treating yourself to a sweet pick-me-up, I guarantee these little candies will delight with every cool, creamy bite. Give them a try, and watch them become an instant family favorite!
Print
Melt-in-Your-Mouth Butter Mints Recipe
- Prep Time: 20 minutes
- Cook Time: 0 minutes
- Total Time: 12 hours 20 minutes (includes drying time)
- Yield: 100 mints (approximately)
- Category: Dessert, Candy
- Method: No-Bake
- Cuisine: American
- Diet: Vegetarian, Gluten-Free
Description
These homemade Melt-in-Your-Mouth Butter Mints are a delightful treat perfect for any occasion. Creamy, minty, and sweet, these little morsels are sure to please your taste buds. Make a batch to enjoy yourself or to give as thoughtful gifts.
Ingredients
Ingredients:
- 1/2 cup unsalted butter (softened)
- 1/4 teaspoon salt
- 4 cups powdered sugar
- 1 tablespoon heavy cream
- 1/2 teaspoon peppermint extract
- food coloring (optional)
- extra powdered sugar for dusting
Instructions
- Cream Butter: In a large bowl, beat the softened butter and salt until creamy.
- Add Sugar: Gradually add the powdered sugar, one cup at a time, mixing on low speed until fully combined.
- Blend Ingredients: Mix in the heavy cream and peppermint extract until a smooth dough forms.
- Add Color: Optionally, tint the dough with food coloring and knead until evenly colored.
- Shape Mints: Divide the dough, roll into ropes, cut into pieces, and shape into mints.
- Dry: Place the mints on a tray lined with parchment paper and air-dry for at least 12 hours.
- Store: Once firm, store the mints in an airtight container.
Notes
- Enhance colors with gel food coloring for vibrant results.
- Perfect for gifting and can be stored for up to 2 weeks.
Nutrition
- Serving Size: 3 mints
- Calories: 70
- Sugar: 11g
- Sodium: 20mg
- Fat: 3g
- Saturated Fat: 2g
- Unsaturated Fat: 1g
- Trans Fat: 0g
- Carbohydrates: 12g
- Fiber: 0g
- Protein: 0g
- Cholesterol: 10mg