
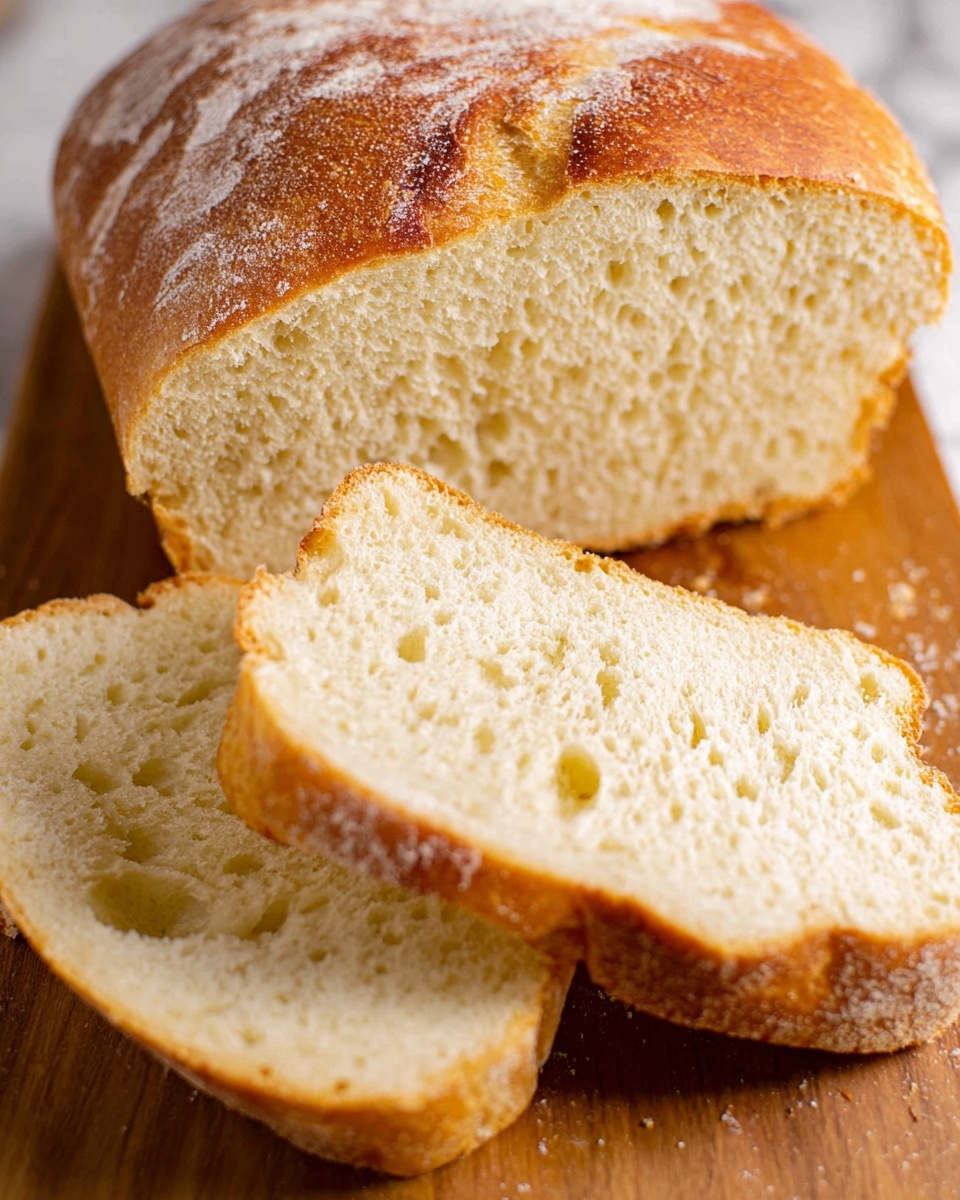
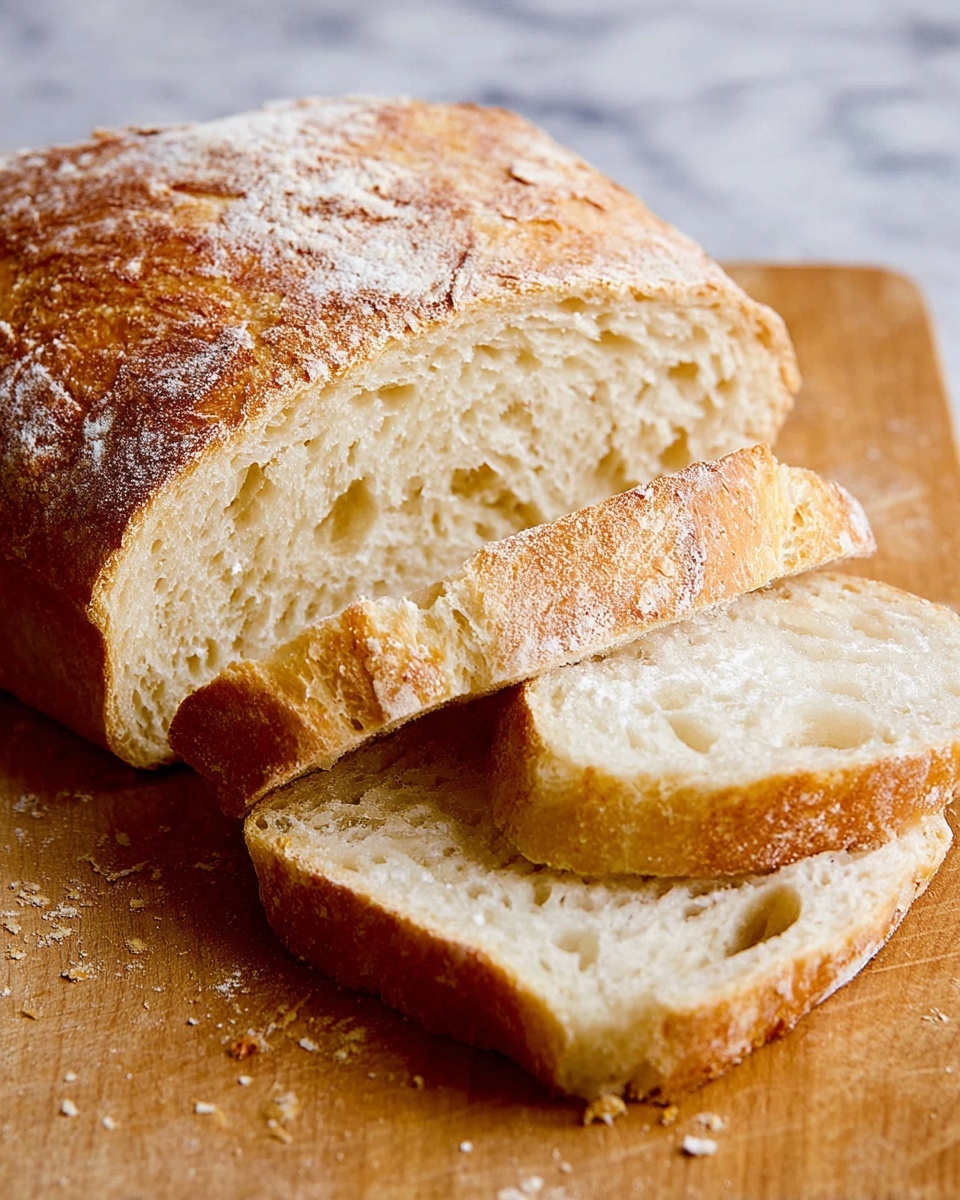
There is something genuinely magical about baking your own bread, especially when it comes out golden, crusty, and full of delicious texture without any complicated techniques. This No-Knead Bread Recipe (Easy Artisan Bread) Recipe is a game-changer for home bakers looking to enjoy bakery-quality artisan bread with minimal effort. It relies on simple ingredients and slow fermentation to develop a beautifully flavorful loaf that’s perfect for everything from morning toast to a sandwich or just dipping in olive oil. Trust me, once you try this method, you’ll wonder why you ever thought bread had to be difficult.
Ingredients You’ll Need
This No-Knead Bread Recipe (Easy Artisan Bread) Recipe calls for a handful of pantry staples that come together to create an incredible loaf. Each ingredient plays an important role in shaping the bread’s texture, flavor, and appearance, making simplicity the secret to success here.
- 1 1/2 cups warm water (100˚F): Activates the yeast and hydrates the flour, essential for perfect dough consistency.
- 1/2 Tbsp sea salt: Balances flavor and strengthens the gluten structure for a better crumb.
- 2 1/4 tsp active dry yeast (1 packet): Provides the lift and airy texture with a slow rise to develop depth.
- 3 1/4 cups all-purpose or bread flour: The backbone of the bread; bread flour adds extra chew, but all-purpose works well too.
- 2 Tbsp cornmeal (or extra flour): Creates a rustic bottom crust and prevents sticking when baking.
How to Make No-Knead Bread Recipe (Easy Artisan Bread) Recipe
Step 1: Activate and Mix
Start by mixing 1 1/2 cups of warm water and the sea salt in a large bowl. Sprinkle the yeast over the surface and let it rest for 2 minutes until it begins to bloom. Afterward, stir gently to incorporate everything. This little waiting period wakes up the yeast so it can work its magic during the long rise.
Step 2: Combine Flour and Form Dough
Next, measure out the flour carefully and add it to the bowl. Stir with a spatula until the dough comes together into a shaggy mass. Don’t worry about smoothness or kneading here; the dough should be slightly sticky but cohesive. Cover the bowl tightly with plastic wrap and let it rise at room temperature for about 2 hours, or until it has roughly doubled in size. This slow fermentation is where the bread develops its delicious flavor and airy texture.
Step 3: Prepare Your Work Surface
Line a cutting board with parchment paper and dust it generously with flour. Scrape the risen dough onto this surface using your spatula, ensuring the dough doesn’t stick. This preps the dough for shaping and the final rise.
Step 4: Shape the Dough
With well-floured hands, fold the dough in half, then fold it in half once more, creating surface tension. Dust the dough generously with flour again, then lift and gently shape it into a round ball. Sprinkle more flour or cornmeal onto the parchment paper, providing a 1-inch border around the dough to allow room for expansion. Place the dough seam side down on the parchment and let it rest uncovered for 40 minutes at room temperature. This final rise is crucial for the perfect crumb and crust.
Step 5: Preheat Oven and Set Up
Position two racks in your oven: one in the middle for your bread and another near the bottom for a water pan. Place a rimless cookie sheet or pizza stone on the middle rack and preheat the oven to 450˚F. Warm 1 cup of water, which will create steam in the oven to help develop that irresistible crust.
Step 6: Score and Bake the Bread
Just before baking, use a sharp knife to make three slashes across the top of your dough. This allows it to expand beautifully in the oven. Place a metal or cast iron dish (never glass) on the bottom rack, carefully pour in the hot water, and then slide your dough on the parchment onto the preheated cookie sheet. Bake for 25 to 28 minutes or until the crust turns a gorgeous golden brown. Let the bread cool completely on a rack before slicing to keep the crumb light and airy.
How to Serve No-Knead Bread Recipe (Easy Artisan Bread) Recipe
Garnishes
This bread shines on its own but can be enhanced with a light brush of olive oil or a sprinkle of flaky sea salt right after baking for a subtle burst of flavor. Fresh herbs like rosemary or thyme can also be gently pressed onto the dough before baking for a fragrant twist that makes every bite memorable.
Side Dishes
No bread is complete without great accompaniments! This No-Knead Bread Recipe (Easy Artisan Bread) Recipe pairs wonderfully with creamy soups, robust stews, and fresh salads. It also makes an unbeatable partner for cheese boards and charcuterie platters, perfect for casual gatherings or cozy nights in.
Creative Ways to Present
Turn your artisan loaf into a centerpiece by serving it whole alongside colorful spreads like roasted red pepper hummus, herbed butter, or a tangy tapenade. Slicing it into thick wedges and toasting the pieces creates an inviting base for bruschetta or garlic bread. Present it wrapped in a clean kitchen towel in a rustic basket for that warm, bakery-fresh vibe everyone loves.
Make Ahead and Storage
Storing Leftovers
Once cooled, store your bread wrapped loosely in a clean kitchen towel or paper bag to maintain its crustiness while preventing drying out. It’s best enjoyed within two days for peak freshness, but stored properly, it will still be delightful beyond that.
Freezing
If you want to keep your loaf longer, slice it and freeze the pieces individually wrapped in plastic wrap or in airtight freezer bags. This way, you can grab just what you need without thawing the entire loaf, preserving flavor and texture.
Reheating
To revive your leftover bread, wrap slices in foil and warm them in a 350˚F oven for about 10 minutes. Alternatively, a quick toast brings back the crisp crust and soft crumb perfectly. Avoid microwaving as it can make the bread chewy or soggy.
FAQs
Can I use whole wheat flour in this No-Knead Bread Recipe (Easy Artisan Bread) Recipe?
Yes, you can substitute part of the all-purpose flour with whole wheat flour for a nuttier flavor and denser texture. Keep in mind the bread may require slightly more water and a longer rise time to compensate for the whole wheat’s higher absorption.
Is it necessary to preheat the baking surface?
Absolutely. Preheating the cookie sheet or pizza stone ensures a strong initial oven spring and helps form that beautiful crisp crust that defines artisan bread.
How important is the water temperature for activating the yeast?
The water should be warm at about 100˚F—not hot—to properly activate the yeast without killing it. Too hot water may prevent the dough from rising.
Can I make this dough in advance and refrigerate it?
Definitely! After mixing, cover and refrigerate the dough for up to 24 hours. It will slowly ferment, leading to even more complex flavors. Just be sure to bring it back to room temperature before proceeding with the shaping and baking steps.
Why does the recipe call for placing water in the oven?
The hot water creates steam inside the oven, which delays crust formation, allowing the bread to rise fully and develop a glossy, crackly crust. It’s a classic artisan bread baking technique that yields bakery-quality results at home.
Final Thoughts
This No-Knead Bread Recipe (Easy Artisan Bread) Recipe is a beautiful reminder that extraordinary homemade bread doesn’t require hours of kneading or fancy equipment. With a little patience and a few straightforward steps, you’ll create a loaf that’s full of flavor, character, and that perfect crust everyone dreams about. I wholeheartedly encourage you to give this recipe a try—you might just fall in love with baking all over again!
Print
No-Knead Bread Recipe (Easy Artisan Bread) Recipe
- Prep Time: 2 hours 45 minutes
- Cook Time: 25 minutes
- Total Time: 3 hours 10 minutes
- Yield: 1 loaf (serves 8-9 people)
- Category: Bread
- Method: Baking
- Cuisine: Artisan / American
- Diet: Vegetarian
Description
This no-knead artisan bread recipe is an easy and foolproof method to bake a crusty, flavorful loaf with minimal effort. Using just flour, water, salt, and yeast, this recipe requires no kneading and relies on long fermentation for optimal texture and taste. The result is a rustic loaf with a crispy crust and soft crumb, perfect for sandwiches or serving alongside soups and salads.
Ingredients
Wet Ingredients
- 1 1/2 cups warm water (100˚F / 38˚C, not hot)
Dry Ingredients
- 3 1/4 cups all-purpose flour (or bread flour), plus extra for dusting
- 1/2 tablespoon sea salt
- 2 1/4 teaspoons active dry yeast (7 grams or 1 packet)
- 2 tablespoons cornmeal (or more flour for dusting)
Instructions
- Activate Yeast and Salt: In a large bowl, combine 1 1/2 cups warm water and 1/2 tablespoon of sea salt. Sprinkle the active dry yeast evenly over the water surface and let sit for 2 minutes to activate. Then stir gently to mix.
- Mix Dough: Add exactly 3 1/4 cups of flour to the bowl. Using a spatula, stir until the dough comes together and is well blended into a somewhat sticky mass. Cover the bowl tightly with plastic wrap and let the dough rise at room temperature for about 2 hours, or until it has doubled or tripled in volume.
- Prepare Surface and Transfer Dough: Line a cutting board with parchment paper and sprinkle it generously with flour. Scrape the risen dough out of the bowl onto the floured parchment-lined surface.
- Shape Dough: With well-floured hands, fold the dough in half, then fold it in half again to form a rough ball. Dust the dough ball generously with flour. Sprinkle the parchment paper and surrounding area with cornmeal or additional flour, about 1 inch beyond the dough’s edges. Place the dough seam side down on the parchment paper and let it rise uncovered at room temperature for 40 minutes.
- Preheat Oven and Prepare Baking Setup: Position two racks in your oven—one in the middle for the bread and one at the bottom for a water pan. Place a rimless cookie sheet (or an inverted rimmed cookie sheet or pizza stone) on the middle rack. Preheat the oven and cookie sheet to 450˚F (232˚C). Meanwhile, heat 1 cup of water until hot.
- Score and Bake: Just before baking, use a sharp knife or razor blade to score the bread top three times. Place a metal or cast iron dish (never glass) on the bottom rack, and carefully pour the hot water into it to create steam. Slide the dough with the parchment paper onto the preheated cookie sheet. Bake for 25 to 28 minutes or until the crust is deep golden brown and crisp.
- Cool Bread: Remove the loaf from the oven and transfer it to a wire rack. Allow the bread to cool completely at room temperature before slicing to ensure the crumb sets properly.
Notes
- Use warm water (100˚F) to effectively activate the yeast without killing it.
- Do not use glass baking dishes for the water pan as rapid temperature changes may cause it to shatter.
- Long fermentation allows gluten development without kneading.
- Dusting with cornmeal or flour prevents sticking during the final rise.
- Steam created from the hot water in the oven helps develop a crispy crust.
- Allowing the bread to cool fully before slicing ensures better texture and flavor.


