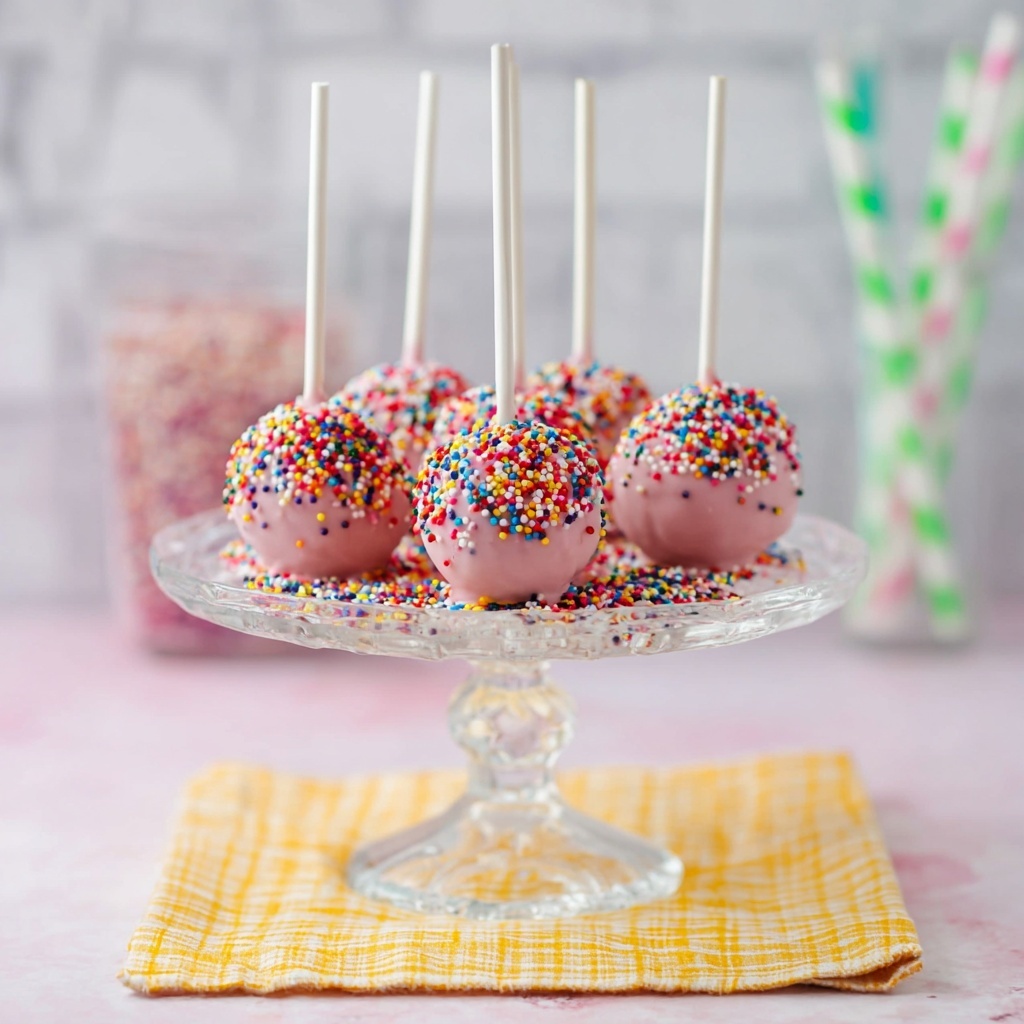
If you have a sweet tooth and a love for all things fun and bite-sized, the Starbucks Cake Pops Recipe is going to be your new favorite treat. These delightful little spheres of moist cake coated in that perfect candy shell are just as charming and delicious as the ones from your favorite coffee spot. Whether you’re making them for a party, an afternoon snack, or just because, this recipe brings together simple ingredients and a little bit of magic to create irresistible cake pops that are sure to wow your family and friends.
Ingredients You’ll Need
Getting the ingredients right is the secret to nailing the Starbucks Cake Pops Recipe. Each element plays an important role in creating that perfect texture, smooth coating, and eye-catching color that make these cake pops so special.
- White Cake Mix: A classic Betty Crocker mix works wonderfully for a tender, fluffy base.
- Vanilla Frosting: This binds the crumbs together perfectly and adds just enough sweetness.
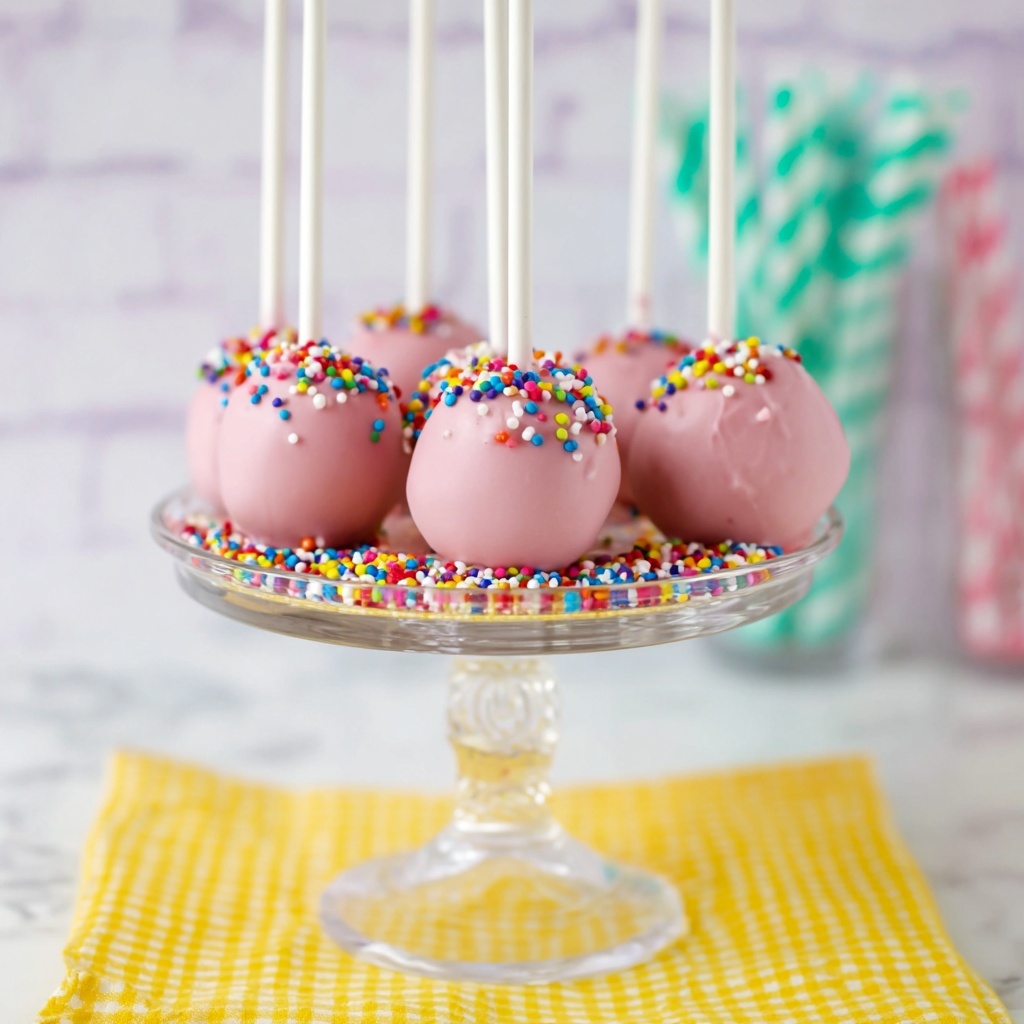
- Wilton Pale Pink Candy Melts: These give the cake pops that gorgeous, smooth coating and stunning pastel hue.
- Crisco Shortening: Adding this helps achieve a silky finish on the candy shell and prevents cracking.
- White Nonpareils: For that charming sprinkle of texture and sparkle on top.
- Popsicle Sticks: Essential for holding your cake pops and showcasing them like a pro.
How to Make Starbucks Cake Pops Recipe
Step 1: Bake the Cake
The magic starts by preparing your white cake mix exactly as directed on the box. Grease a 9×13-inch baking dish and pour in the batter, then bake at 350 degrees for about 30 minutes until a toothpick inserted in the center comes out clean. Cooling the cake thoroughly on a wire rack is key before moving on to the next step, so be patient and enjoy the aroma filling your kitchen.
Step 2: Crumble and Mix
Once the cake has completely cooled, break it apart with a fork into fine crumbs, scraping every bit from the pan’s sides and bottom. Pour these crumbs into a large bowl and then add the entire can of vanilla frosting. Using your hands, mix the crumbs and frosting until you get a gooey, well-mixed cake mound. This mixture is what holds your cake pops together, so be sure it’s evenly combined and sticky enough to shape.
Step 3: Shape the Cake Balls
Lay out a large piece of parchment paper on a cookie sheet close to your mixing bowl. Roll the cake mixture into 1 1/2-inch balls, placing each one on the parchment. Keep going until all the mixture is used up; this hands-on step can be so satisfying as you watch delicious bites take shape.
Step 4: Melt the Candy Melts
To create that classic Starbucks cake pops pink coating, melt half of the pale pink candy melts in a microwave-safe bowl. Microwave in 10-second bursts, stirring frequently until the candy is smooth and luscious. This careful melting ensures the coating will be silky and not grainy.
Step 5: Insert the Sticks
Dip each popsicle stick into the melted candy melts to coat the tip, then immediately insert it halfway into a cake ball. Doing this helps secure the sticks firmly inside the cake pops and makes them easy to handle later. Place all your sticks in the cake balls, ready for the chill.
Step 6: Chill to Set
Put the cookie sheet with the cake pops into the freezer for 30 minutes. This step chills the balls and helps the sticks adhere tightly, preventing any slips or falls when you dip them later. It’s a crucial pause that makes the decorating process so much easier and neater.
Step 7: Final Dip and Decorate
After chilling, melt the remaining candy melts with a touch of Crisco shortening stirred in for that extra glossy finish. Holding each cake pop by its stick, dip it fully into the melted pink candy, then pop it into a Styrofoam block to dry. Quickly sprinkle white nonpareils for that signature touch of whimsy and texture. Let the cake pops sit until the candy coating hardens, about an hour, before enjoying or storing them.
How to Serve Starbucks Cake Pops Recipe
Garnishes
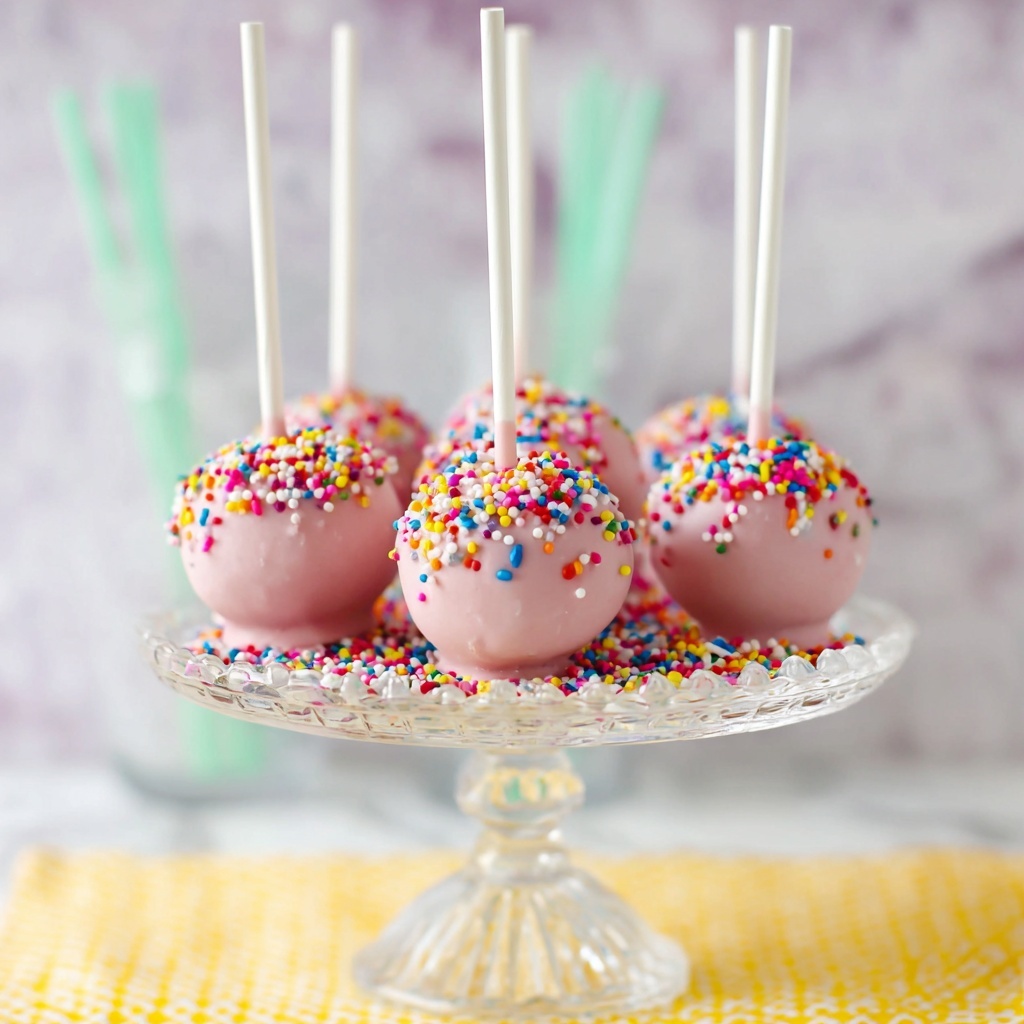
A simple sprinkle of white nonpareils adds crunch and elegance to your cake pops, but feel free to get creative. Colored sugar, edible glitter, or tiny heart-shaped sprinkles can turn these Starbucks Cake Pops Recipe treats into seasonal or themed delights that sparkle on any dessert table.
Side Dishes
Pair your cake pops with a creamy coffee or a refreshing glass of milk to balance the sweetness. These cake pops are also fabulous alongside fresh fruit or a light salad for a fun contrast. They shine on their own but complement other treats beautifully.
Creative Ways to Present
Displaying your Starbucks Cake Pops Recipe can be just as fun as making them. Try arranging them upright in a decorated Styrofoam base or glass jar filled with colorful candy. Wrapping each pop individually in clear cellophane tied with a ribbon makes them perfect party favors or gifts.
Make Ahead and Storage
Storing Leftovers
Store your cake pops in an airtight container and refrigerate to keep them fresh for up to a week. The cool environment helps maintain the candy coating’s texture while keeping the cake moist and tender inside.
Freezing
If you want to make these ahead of time and freeze them, place the cake pops in a single layer on a baking sheet first, freeze until firm, then transfer them to a freezer-safe bag or container. When wrapped well, they can last up to a month in the freezer without losing their taste or texture.
Reheating
Since cake pops are best served cold or at room temperature, you don’t need to reheat them. Simply remove from the fridge about 15 minutes before serving to let the candy coating soften slightly, bringing out the full flavor and softness inside.
FAQs
Can I use a homemade cake instead of a box mix for this Starbucks Cake Pops Recipe?
Absolutely! A homemade white cake or even a fun flavor like chocolate or red velvet works beautifully. Just make sure your cake is completely cooled before crumbling and mixing with frosting.
What if I don’t have candy melts? Can I use chocolate?
You can use white chocolate or colored melting chocolates as a substitute. Be careful when melting, and add a little shortening if needed to get a smooth, dip-ready consistency.
How do I make sure the sticks don’t fall out of the cake pops?
Dipping the sticks in the melted candy melts before inserting and then chilling the cake pops firmly helps secure the sticks. Freezing for 30 minutes before dipping the whole pop also ensures they stay put.
Can I use different colors for the coating?
Definitely! The Starbucks Cake Pops Recipe is easy to customize with any candy melt color you like, perfect for holidays, birthdays, or just to match your personal style.
How long do these cake pops last once made?
Stored in an airtight container in the fridge, they stay fresh and tasty for about one week. Beyond that, they may dry out, so it’s best to enjoy them soon!
Final Thoughts
Making the Starbucks Cake Pops Recipe at home is such a joy—it turns simple ingredients into a festive, delicious treat that brightens any occasion. Once you try these, you’ll find endless reasons to whip up a batch, whether for sharing or treating yourself. So grab those ingredients, roll up your sleeves, and enjoy creating your own slice of cake pop perfection!
Print
Starbucks Cake Pops Recipe
- Prep Time: 15 minutes
- Cook Time: 30 minutes
- Total Time: 1 hour 45 minutes
- Yield: 12 cake pops
- Category: Dessert
- Method: Baking
- Cuisine: American
Description
These Starbucks-inspired Cake Pops are delightful bite-sized treats combining moist white cake with creamy vanilla frosting, coated in a smooth pink candy shell and topped with white nonpareils. Perfect for parties or a sweet snack, they mimic the popular café snack with vibrant color and irresistible taste.
Ingredients
Cake Mixture
- 1 White Cake Mix (Betty Crocker recommended)
- 1 can Vanilla Frosting
Coating
- 1 bag Wilton Pale Pink Candy Melts
- 1 teaspoon Crisco Shortening
- White Nonpareils (for sprinkling)
- Popsicle Sticks
Instructions
- Prepare the Cake: Preheat your oven to 350°F (175°C). Grease a 9×13-inch baking dish, prepare the white cake mix according to the package instructions, pour the batter into the dish, and bake for about 30 minutes or until a toothpick inserted in the center comes out clean. Remove from oven and cool completely on a wire rack.
- Form Cake Crumbs: Once completely cool, use a fork to break the cake apart into small crumbs, scraping the dish’s bottom and sides thoroughly. Transfer the crumbs into a large bowl and continue breaking them down until fine. Add the entire can of vanilla frosting and mix with your hands until a cohesive, gooey cake mixture forms.
- Shape into Balls: Spread a large piece of parchment paper on a cookie sheet near your work area. Roll the cake mixture into approximately 1 1/2 inch balls using your hands. Place each ball on the parchment paper and continue until all mixture is used.
- Melt Candy Melts: In a microwave-safe bowl, place about half of the Wilton pale pink candy melts. Microwave in 10-second bursts, stirring between each, until the candy is smooth and fully melted.
- Insert Sticks: Dip each popsicle stick briefly into the melted candy, then immediately insert it into a cake ball about halfway. Repeat for all cake balls to ensure sticks adhere well.
- Chill Sticks: Place the cake pops on the cookie sheet and freeze for 30 minutes to secure the sticks firmly in the cake balls.
- Finish Melting Coating: After chilling, add the remaining candy melts to the melted candy bowl and microwave again until smooth. Stir in 1/2 teaspoon of Crisco shortening to thin and smooth the candy coating for easier dipping.
- Coat Cake Pops: Holding each stick, dip the cake pops into the pink melted candy to fully coat. Allow excess to drip off, then insert the pops into a Styrofoam block or stand upright to set.
- Decorate and Set: Sprinkle white nonpareils over the wet candy coating immediately for decoration. Let the cake pops sit at room temperature for about 1 hour to allow the candy shell to harden completely.
- Store and Serve: Once set, transfer cake pops to an airtight container and refrigerate to keep fresh. Serve chilled or at room temperature and enjoy your homemade Starbucks-style cake pops!
Notes
- Ensure the cake is completely cooled before breaking into crumbs to avoid a soggy mixture.
- Freezing the cake pops before coating helps sticks stay securely in place during dipping.
- Crisco shortening added to candy melts helps create a smoother and shinier coating.
- Store cake pops in the refrigerator in an airtight container to maintain freshness for up to 3-4 days.
- For variation, use different colored candy melts or sprinkles to customize your cake pops.
