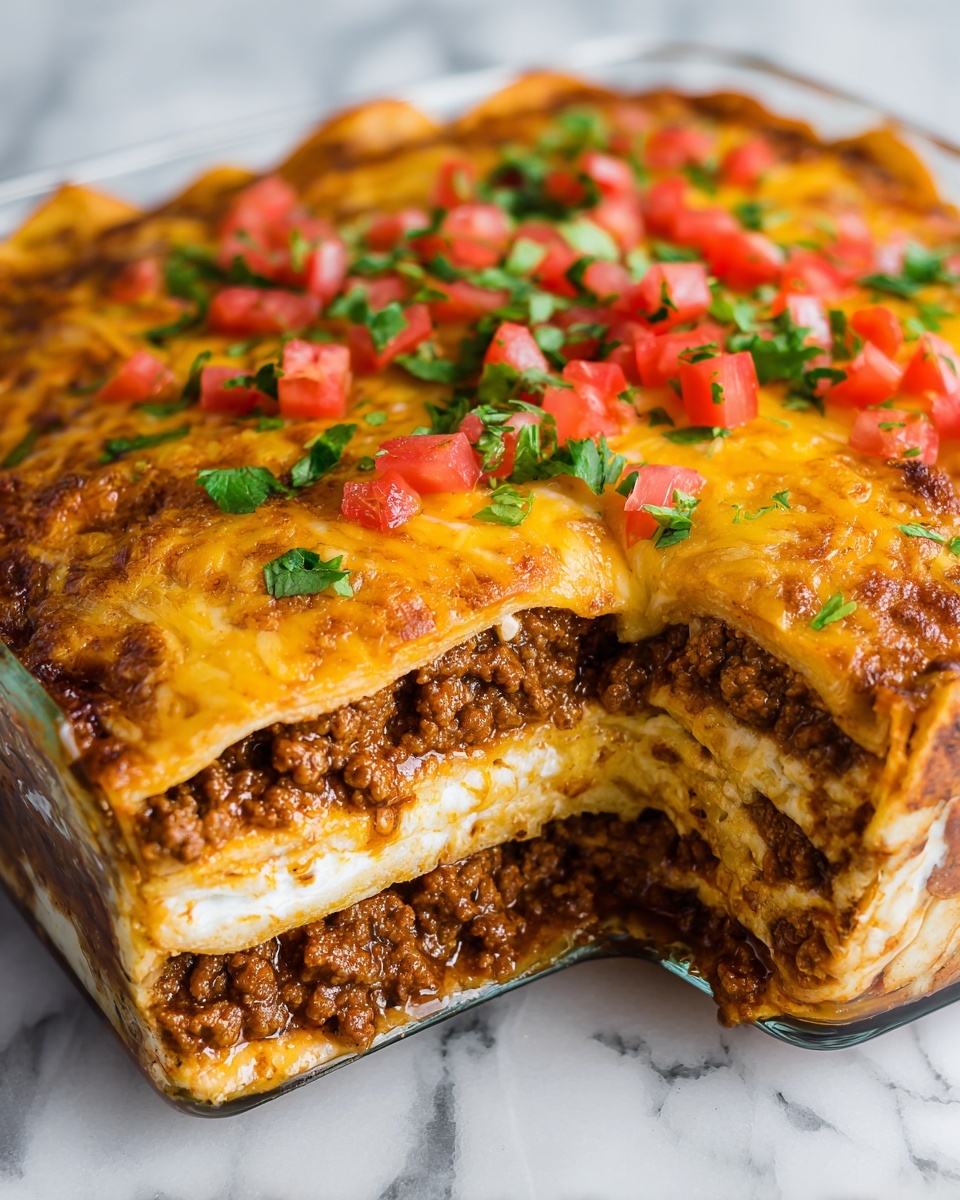
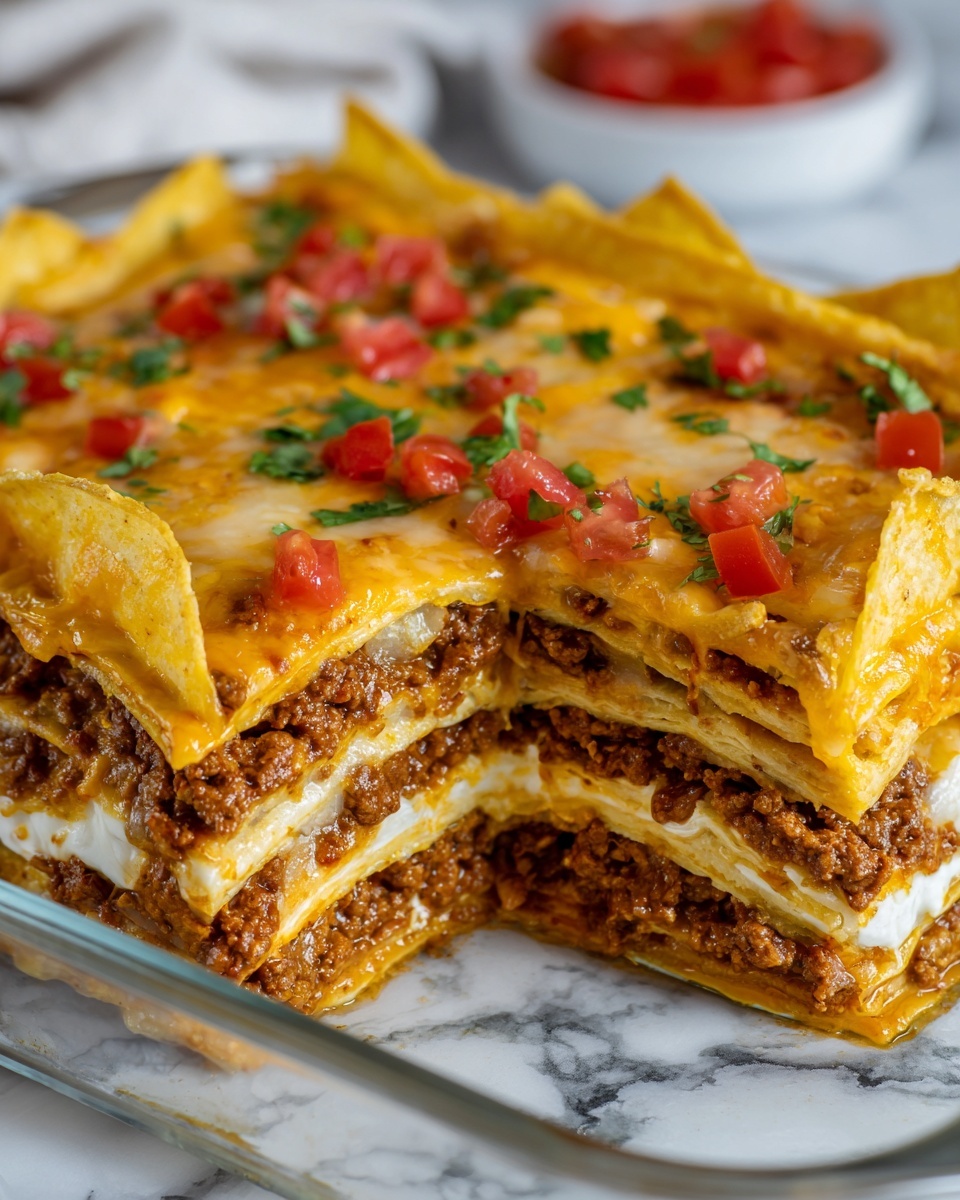
If you are searching for an irresistibly fun and flavorful dish that brings all the excitement of taco night in an easy-to-make, shareable form, this Walking Taco Casserole Recipe is exactly what you need. It layers seasoned ground beef, black beans, corn, melted cheddar, and crunchy corn chips into a warm, cheesy delight that feels like a fiesta in every bite. Whether it’s for a family dinner or a casual get-together, this casserole hits the perfect balance of hearty comfort and vibrant Tex-Mex flavors that get everyone coming back for seconds.
Ingredients You’ll Need
This Walking Taco Casserole Recipe is wonderfully simple, relying on ingredients that are both pantry staples and flavor powerhouses. Each component adds its own special touch — from the savory seasoned beef to the crisp corn chips that provide that essential crunch and texture contrast.
- Ground beef (1 pound): The rich and savory protein base that carries all those classic taco flavors beautifully.
- Small onion, diced: Adds subtle sweetness and depth when sautéed with the beef.
- Taco seasoning mix (1 packet): Bursts of spicy, smoky flavor that define the Tex-Mex soul of the dish.
- Water (1/4 cup): Helps the seasoning blend and ingredients combine perfectly without drying out.
- Black beans (1 can, 15 ounces, drained and rinsed): Adds creamy texture and a boost of fiber and protein.
- Frozen corn (1 cup): Sweet kernels that bring pops of color and natural sweetness.
- Rotel diced tomatoes with green chilies (1 can, 10 ounces, drained): Juicy, zesty tomatoes with just the right kick of heat.
- Shredded cheddar cheese (2 cups): Melts into gooey, golden goodness that binds everything together.
- Corn chips (4 cups, like Fritos): The crunchy star of the show, giving a playful twist to the traditional casserole texture.
- Sour cream, diced tomatoes, shredded lettuce, sliced green onions (for topping): Fresh and creamy toppings that bring balance and brightness to each serving.
How to Make Walking Taco Casserole Recipe
Step 1: Brown the Beef and Onion
Start by heating a large skillet over medium heat, then cook the ground beef alongside the diced onion until the beef is beautifully browned and the onion softens, about 7 to 8 minutes. This initial step builds the savory base for the casserole, so make sure your beef is nicely caramelized for maximum flavor. Once cooked, drain any excess fat to keep the casserole from becoming greasy.
Step 2: Add Seasoning and Veggies
Next, stir in the taco seasoning packet and water to coat the beef evenly in that bold Tex-Mex spice blend. Then, fold in the black beans, frozen corn, and drained Rotel tomatoes with green chilies. Let this mixture simmer gently for about 5 minutes, allowing all those flavors to marry and the vegetables to heat through perfectly. This simmer step makes the filling juicy and bursting with vibrant flavors.
Step 3: Layer the Casserole
Grab a 9×13-inch baking dish and spread half of your crunchy corn chips right on the bottom; this is the foundation that will keep your layers exciting. Spoon the warm beef and veggie mixture over the chips evenly, ensuring every bite has a balance of ingredients. Then generously sprinkle the shredded cheddar cheese on top, which will create that luscious, melty blanket everyone loves.
Step 4: Bake to Perfection
Place the assembled casserole in a preheated oven at 350 degrees Fahrenheit (175 degrees Celsius) and bake for 15 to 20 minutes. You’re looking for the cheese to melt fully and bubble invitingly, signaling that the casserole is ready. Once out of the oven, scatter the remaining corn chips on top to preserve their crunch, giving the dish that signature Walking Taco texture.
How to Serve Walking Taco Casserole Recipe
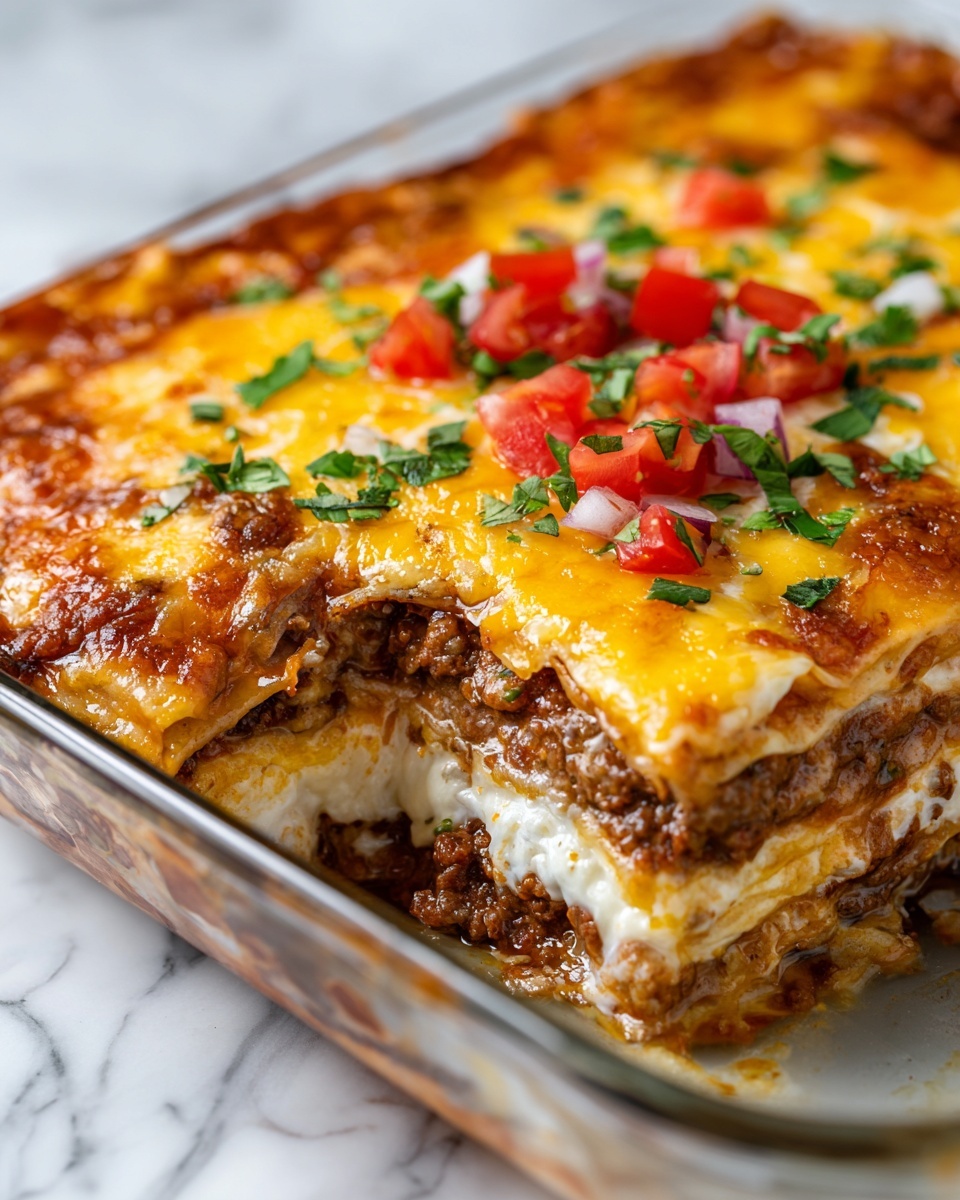
Garnishes
Adding fresh toppings can elevate this casserole from delicious to downright irresistible. Dollops of creamy sour cream, crisp shredded lettuce, juicy diced tomatoes, and vibrant sliced green onions add layers of texture and freshness that cut through the richness and bring a burst of color and coolness to each plate.
Side Dishes
This hearty casserole pairs wonderfully with light, refreshing sides like a simple cilantro lime rice or a bright Mexican street corn salad. A crisp green salad with avocado and a tangy vinaigrette also complements the rich flavors without overwhelming your palate.
Creative Ways to Present
For a fun twist, serve the Walking Taco Casserole Recipe in individual mason jars or small cast-iron skillets at parties for a personal touch. You can also let guests build their own plates by presenting toppings buffet style alongside the casserole, so everyone can customize their perfect walking taco experience.
Make Ahead and Storage
Storing Leftovers
Once cooled, store any leftovers in an airtight container in the refrigerator. The casserole will keep well for up to 3 days and maintains its flavor wonderfully, making it perfect for easy meals later in the week.
Freezing
This Walking Taco Casserole Recipe freezes beautifully. Place portions in freezer-safe containers and freeze for up to 2 months. Just be sure to thaw it overnight in the fridge before reheating to keep its texture and taste intact.
Reheating
Reheat in the oven at 350 degrees Fahrenheit until warmed through and the cheese is again deliciously melty, about 15 minutes. You can also use the microwave for a quicker option, but reheating slowly in the oven helps maintain the casserole’s crisp edges and overall texture.
FAQs
Can I use ground turkey or chicken instead of ground beef?
Absolutely! Ground turkey or chicken are excellent leaner alternatives that work well in this Walking Taco Casserole Recipe. Just adjust your seasoning slightly if needed to keep it flavorful.
How can I make this recipe spicier?
If you love heat, add chopped jalapeños during the sauté step or mix in a few dashes of your favorite hot sauce. Using spicier taco seasoning also amps up the flavor without too much effort.
Is this casserole gluten-free?
Yes! Provided you use certified gluten-free corn chips and taco seasoning, this recipe fits perfectly into a gluten-free diet without compromising on taste or texture.
Can I prepare this dish ahead of time?
You can absolutely prep and assemble the casserole a few hours ahead or even the night before and keep it refrigerated until baking. This makes it a fantastic option for a busy weeknight or entertaining.
What can I serve instead of corn chips for a lower carb option?
For a lower carb twist, substitute the corn chips with crushed pork rinds or crispy baked cheese crisps for a similar crunch with fewer carbohydrates, while still keeping that delicious texture contrast.
Final Thoughts
This Walking Taco Casserole Recipe is one of those delightful dishes that feels like a warm hug on a plate with all the bold, comforting flavors of your favorite tacos baked into one easy casserole. Whether it becomes your go-to for busy weeknights or a crowd-pleaser at gatherings, I encourage you to try it and make it your own. Trust me, once you’ve enjoyed this perfect blend of cheesy, spicy, and crunchy goodness, it will be hard to go back to regular tacos again!
Print
Walking Taco Casserole Recipe
- Prep Time: 10 minutes
- Cook Time: 25 minutes
- Total Time: 35 minutes
- Yield: 6 servings
- Category: Main Course
- Method: Baking
- Cuisine: Mexican-American
- Diet: Gluten Free
Description
Walking Taco Casserole is a comforting Tex-Mex dish that layers seasoned ground beef, black beans, corn, and Rotel tomatoes over crunchy corn chips, topped with melted cheddar cheese and fresh toppings. It’s an easy weeknight dinner perfect for family meals, combining the flavors of classic walking tacos in a convenient casserole form.
Ingredients
Meat and Vegetables
- 1 pound ground beef
- 1 small onion, diced
- 1 can (15 ounces) black beans, drained and rinsed
- 1 cup frozen corn
- 1 can (10 ounces) Rotel diced tomatoes with green chilies, drained
Seasonings and Liquids
- 1 packet taco seasoning mix
- 1/4 cup water
Dairy
- 2 cups shredded cheddar cheese
Base and Toppings
- 4 cups corn chips (like Fritos)
- Sour cream, for topping
- Diced tomatoes, for topping
- Shredded lettuce, for topping
- Sliced green onions, for topping
Instructions
- Preheat Oven: Preheat your oven to 350°F (175°C) to get it ready for baking the casserole.
- Cook Beef and Vegetables: In a large skillet over medium heat, cook the ground beef and diced onion until the beef is browned and the onion is soft, about 7 to 8 minutes. Drain any excess fat to keep the dish from being greasy.
- Add Seasoning and Mix-ins: Stir in the taco seasoning and water. Then add the drained black beans, frozen corn, and drained Rotel diced tomatoes with green chilies. Simmer this mixture for about 5 minutes until everything is heated through and flavors meld.
- Assemble Casserole: Spread half of the corn chips evenly across the bottom of a 9×13-inch baking dish. Spoon the beef and vegetable mixture evenly over the chips. Then sprinkle the shredded cheddar cheese all over the top.
- Bake: Place the casserole in the preheated oven and bake for 15 to 20 minutes or until the cheese is melted and bubbly.
- Add Final Toppings and Serve: Remove the casserole from the oven and immediately top with the remaining corn chips to retain some crunch. Serve warm with sour cream, shredded lettuce, diced tomatoes, and sliced green onions as desired.
Notes
- For a leaner alternative, substitute ground turkey or chicken instead of ground beef.
- Add jalapeños or a dash of hot sauce to increase the heat level.
- To keep the corn chips crispier, reserve some chips to serve on the side instead of baking all of them inside the casserole.

